

How to add a border in Word
In Microsoft Word, borders are the set of lines, design shapes, images, text boxes, boundaries, and colorful graphics that are added in Word to make documents more attractive and beautiful. Using a page border, you can customize the style and thickness of the page.
Microsoft Word allows you to add various different types of borders in your document, such as colorful border, text border, picture border, paragraph border, and custom border.
There are the following methods to add a border in Word ?
Add a page border in Word document
Adding a page border in Microsoft Word is depends on the version of Microsoft Office. For Word 2019 and Office 365, you can click on the Design tab on the ribbon to add a page border.
Note: In our case, we are going to use Word 2010 to add a page border in Word.
Step 1: Open the Word document, where you want to add a border.
Step 2: Go to the Page Layout tab and click on the Page Borders under the Page Background section.

Step 3: A Borders and Shading window will appear on the screen.
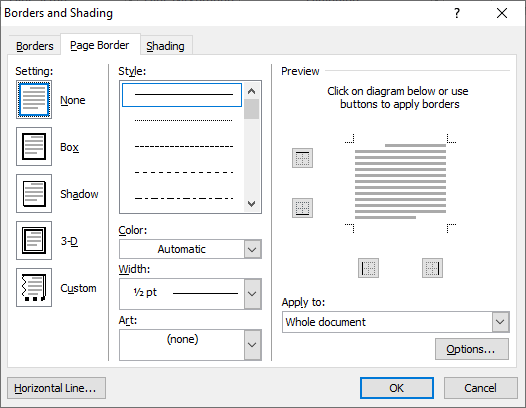
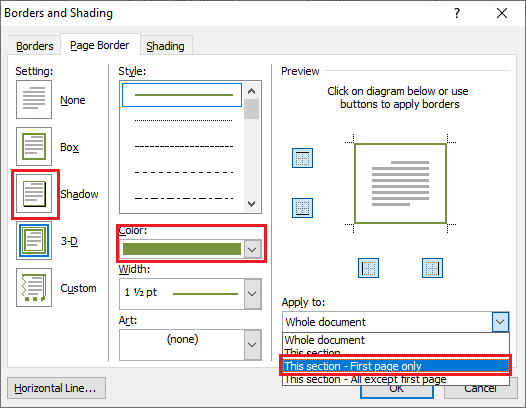
Step 4: Select the Shadow option to give shade around your page.
- Select a line, from the style section that you want to add as a line border of your page.
- Choose the color that you want to add on the border.
- Define the width of the border using the Width drop-down menu.
- Click on the Apply to drop-down menu to select the page and document in which you want to apply a border.
- Click on the OK button at the bottom of the screen.
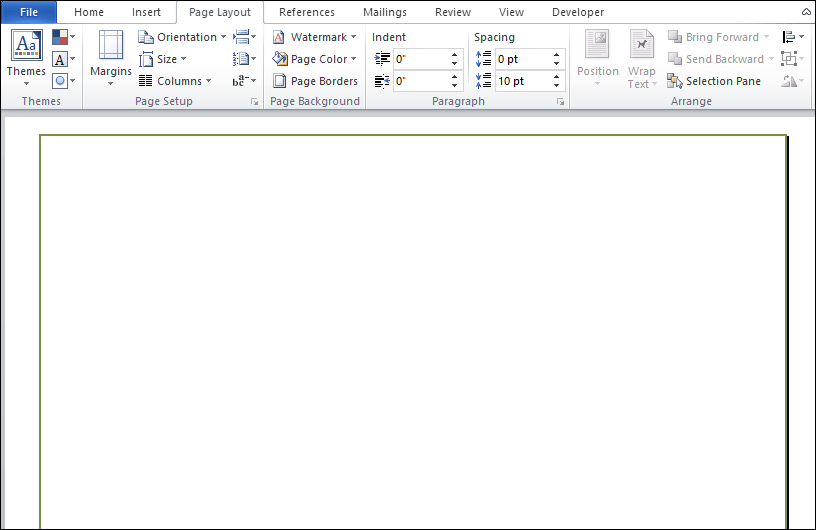
The below screenshot shows that a page border is added in the Word document.
Instead of lines, you can also add designed shapes in the border. To add design, click on the Art drop-down menu and select the border design that you want to add on the page.
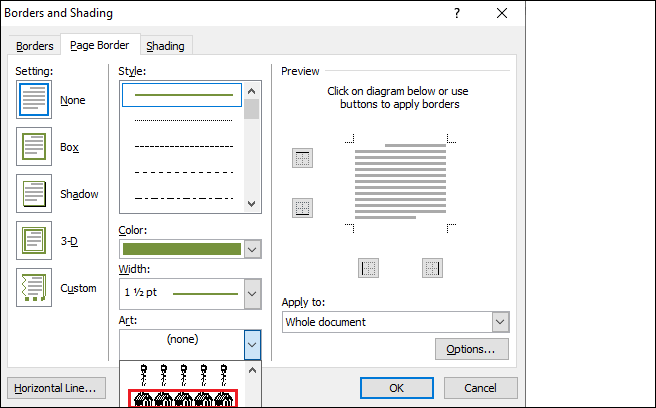
The below screenshot shows that a designed border is added in the Word documents.
Add customized page border in Word document
There are the following steps to add a custom page border in Word document ?
Step 1: Go to any browser and search for the page border.
Note: We are going to use https://www.pageborders.net/ website to select the page border.
Step 2: Select the page border according to your requirement and download it.
Step 3: Open the Word document in which you want to add a custom page border.
Step 4: Click on the Insert tab on the ribbon and select Picture.

Step 5: Browse the downloaded file and click on the Insert tab at the bottom of the screen.
Now, you can see that a customized border is added to your Word document.
Add a paragraph border in Word document
As a page border is added around the entire page, similarly, a paragraph border is added around the selected paragraph.
To add paragraph border in Word document, follow the below steps ?
Step 1: Open the Word document.
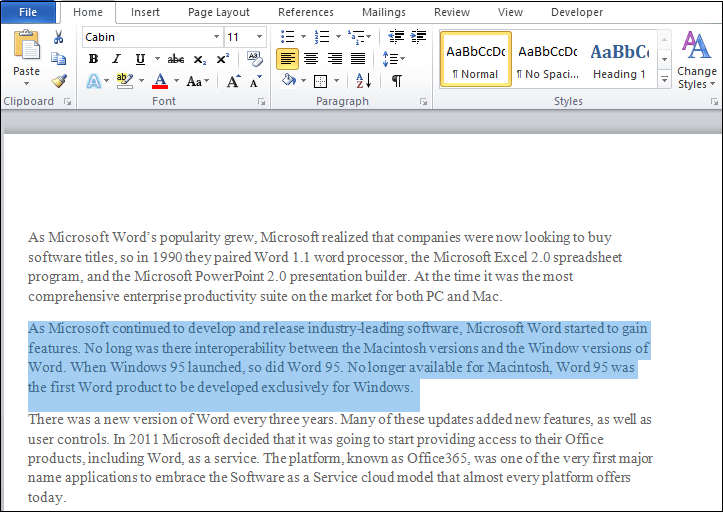
Step 2: Select the paragraph in which you want to add a paragraph border.
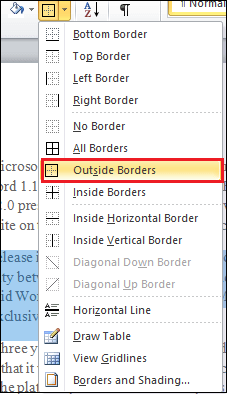
Step 3: Go to the Home tab on the ribbon. Click on the Border button under the paragraph section.

Step 4: A list of borders menu appears on the screen. Click on the Outside Borders, as shown in the below screenshot.
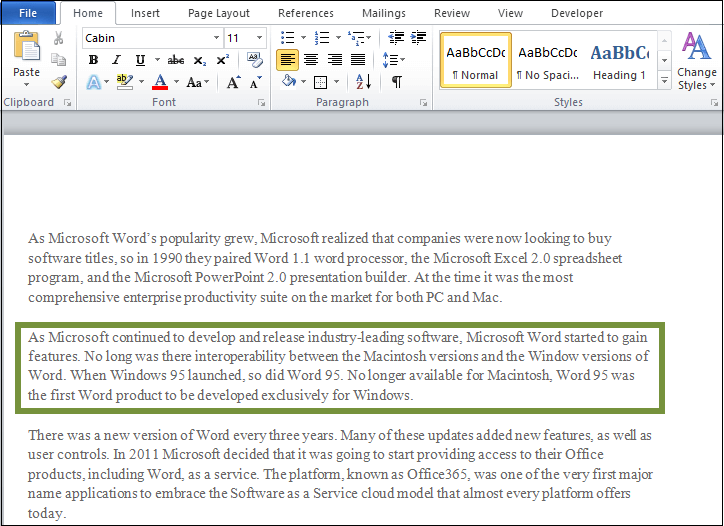
The below screenshot shows that a paragraph border is added in the Word document.
Add a border around the table in Word document
In Microsoft Word, you can also add a border around the entire table or selected cells.
Step 1: Open the Word document in which you want to add a border.
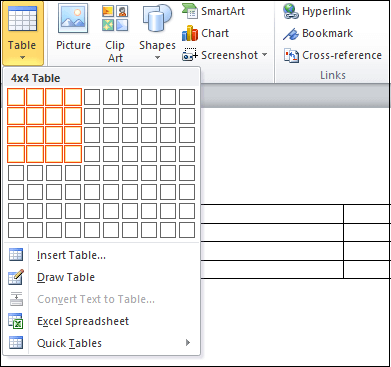
Step 2: Go to the Insert tab and select Table under the Tables section.

Step 3: Select table rows and columns according to your requirement.
Step 4: Once table is inserted in the Word document. Select the table and Choose border design from the Table style.
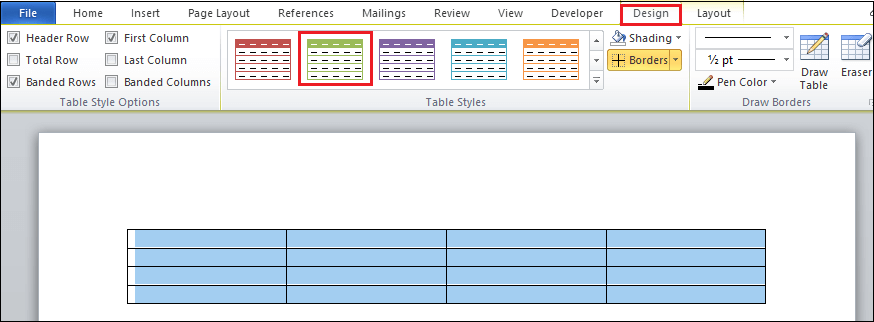
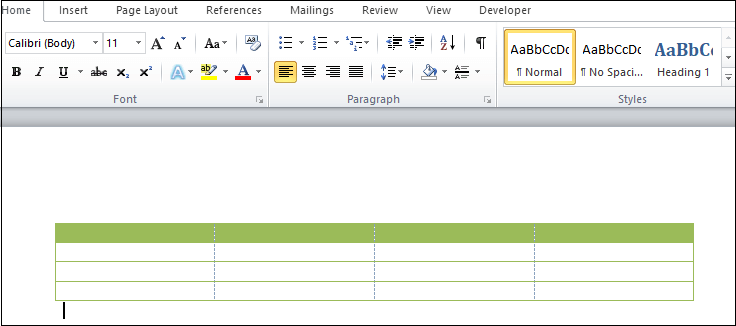
The below screenshot shows that a table border is added in the Word document.
Add a picture border in Word document
Microsoft Word provides the fastest way to add borders around a picture.
Step 1: Open the Word document in which you want to add a picture border.
Step 2: Go to Insert tab and select the Picture option under the illustration section.
Step 3: Browse the picture in which you want to add a border and click on the Insert button at the bottom of the screen.
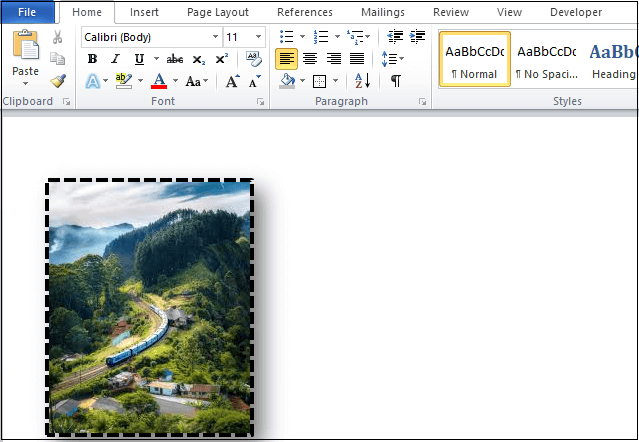
Step 4: Once the picture is added in the Word document, double click on the picture to select the picture.
Step 5: A Format tab will appear on the ribbon. Click on the drop-down menu associated with Picture Borders.
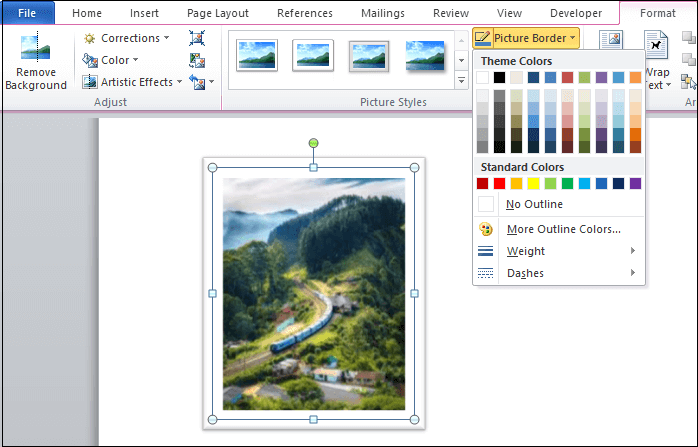
Step 6: Select the weight or dashes according to your requirement.
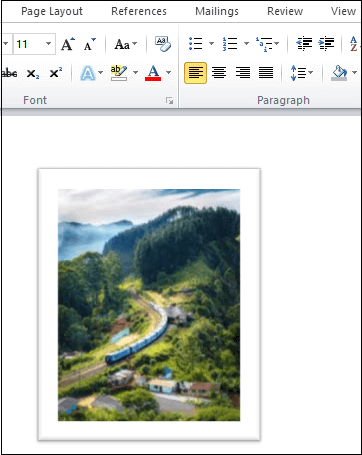
The below screenshot shows that a border is added in the selected picture.
Method 2: Picture Style
You can also add picture border using the Picture style section.
Double click on the picture, a format tab will appear on the screen, select any picture from the Picture Style section, as shown in the below screenshot.

Now, you can see that picture border is added in the Word document.
How to remove page border in Word
Step 1: Open the Word document in which you want to remove the page border.
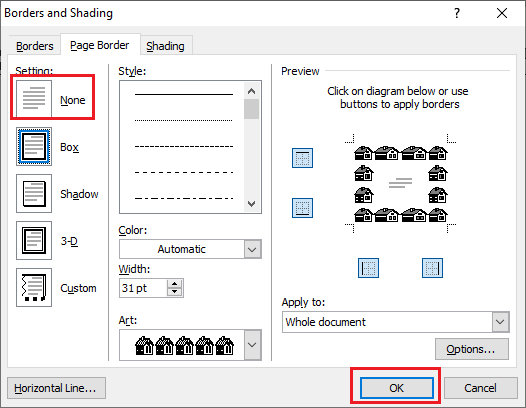
Step 2: Go to the Page Layout tab, click on the Page Borders under the Page Background section.
Step 3: A Borders and Shading window will appear on the screen. Go to setting at the left side, select None, and click on the OK at the bottom of the screen.
Now, you can see that border is removed from the Word document.


