How To Insert Venn Diagram In Excel
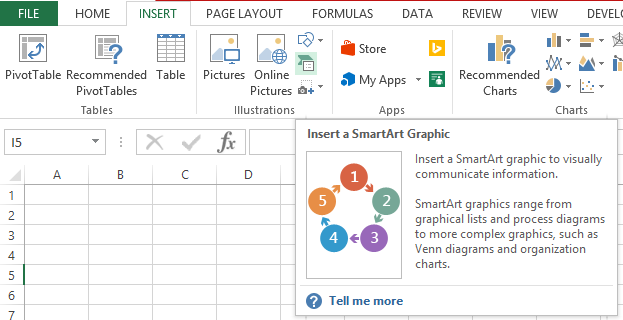
Launch Excel, click on Insert tab and in the Illustrations group select SmartArt

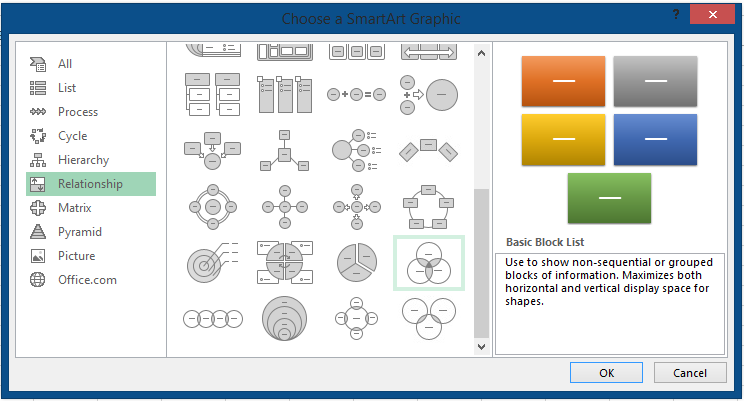
In the Choose a SmartArt Graphic gallery, click Relationship, click a Venn diagram layout (such as Basic Venn), and then click OK.

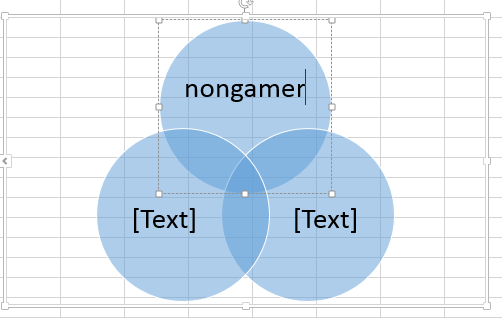
The Venn diagram will appear. Click on [Text] to add text to your Venn diagram.

To add text to the overlapping parts of the circle:
- On the Insert tab, in the Text group, click Text Box.
- Drag to draw a text box.
- Select the text box and type your text.
- Position the text box over the overlapping area of the circles.

(optional) To add or delete new circles
- Click the SmartArt graphic that you want to add another circle to.
- Click the existing circle that is located closest to where you want to add the new circle.
- Under SmartArt Tools, on the Design tab, in the Create Graphic group, click the arrow next to Add Shape.
- Do one of the following:
- To insert a circle after the selected circle, that will overlap the selected circle, click Add Shape After.
- To insert a circle before the selected circle, that will overlap the selected circle, click Add Shape Before.
- To delete a circle from your Venn diagram, click the circle you want to delete, and then press DELETE
Note: To customize your Venn diagram use the Design tab
Template
You can download the Template here – Download
Further reading:
Basic concepts
Getting started with Excel
Cell References


