

Excel Delete Row Shortcut
MS Excel is the most popular powerful spreadsheet program that is bundled with the Microsoft Office Suite. It is a user-friendly program for recording data for daily individual and businesses purposes. Excel allows us to record vast amounts of data within spreadsheets. We typically maintain data in several rows and columns within the tables in spreadsheets.
Sometimes, we might have added data in rows earlier which we may have to delete later. We can easily do this task in Excel, whether it is a single row or multiple rows. The traditional method of deleting the desired row(s) in Excel involves using the commands listed inside the ribbon by navigating to Home > Delete > Delete Sheet Row. However, some Excel Delete Row shortcuts help us delete the desired number of rows quickly in almost no time.
This article discusses some essential Excel shortcuts to delete/ remove an existing row in Excel worksheets. Furthermore, the article also covers the method of deleting multiple rows in Excel using shortcuts.
‘Delete Row’ Shortcuts in Excel
There may be different reasons for deleting any specific row in an Excel sheet. Although we can use different methods to delete a row in Excel, the easiest and fastest methods involve shortcuts. Listed below are some essential shortcuts to delete a row in Excel quickly:
- Delete Row in Excel using the Keyboard Shortcut
- Delete Row in Excel using the Right-Click Shortcut
Let us now understand both the above shortcuts in detail with examples:
Delete Row in Excel using the Keyboard Shortcut
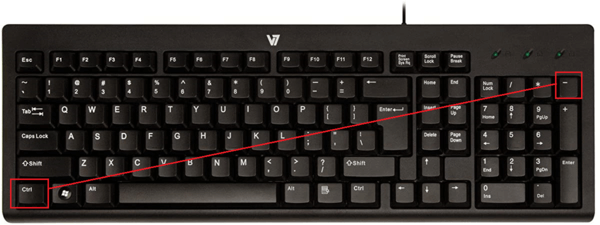
MS Excel has numerous keyboard shortcuts that help perform associated actions immediately. When deleting a row, we can press the Ctrl key followed by the Minus [-] sign button on the keyboard.
- Ctrl + (Minus Sign)
The plus sign indicates that we must press both the keys simultaneously, one by one. Specifically, we need to press and hold the Ctrl key and then press the Minus sign button.
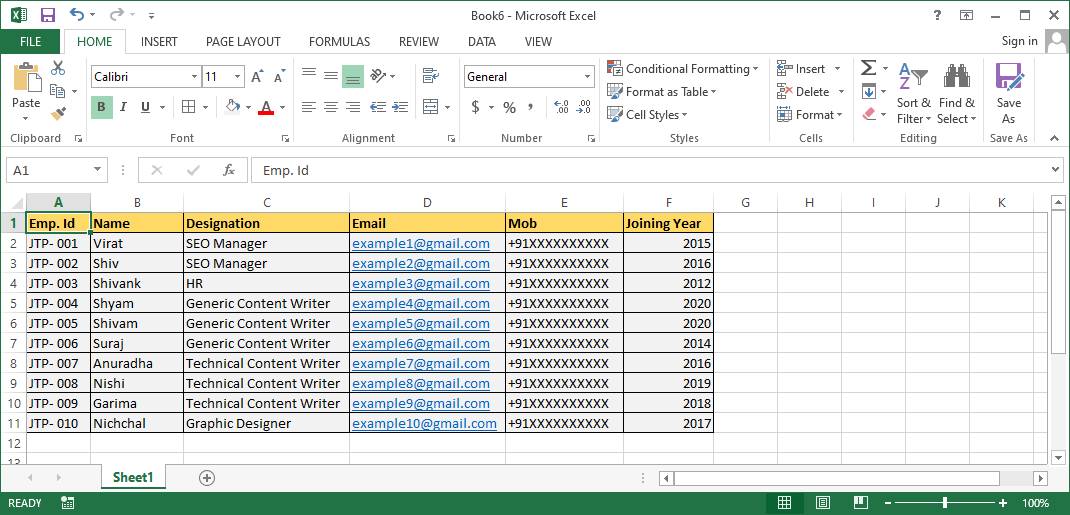
Let’s take an example of the following data set, where we need to delete the third row.
To delete the Excel row using the keyboard shortcut, we need to execute the following steps:
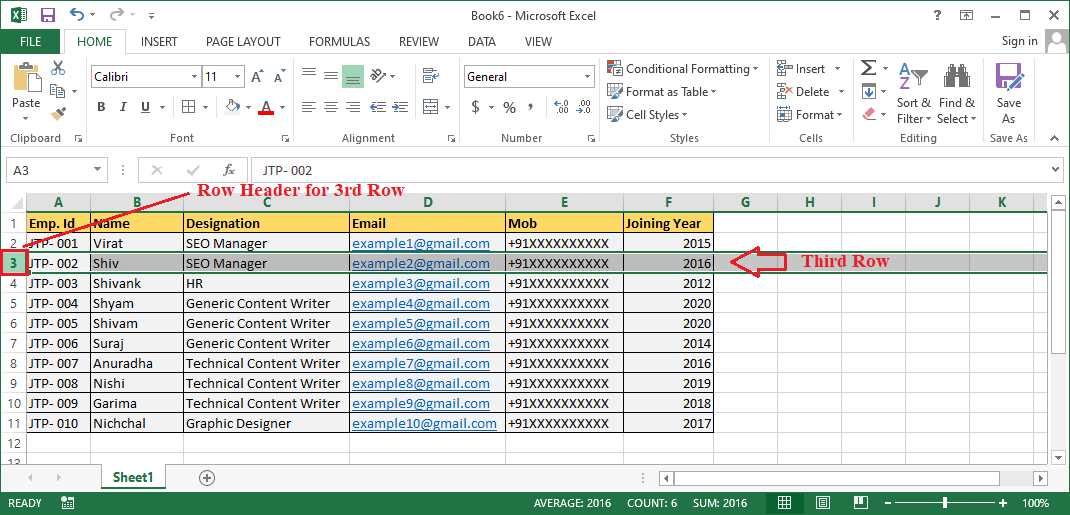
- First, we need to select the entire row that we want to delete from the Excel sheet. In our case, we select the 3rd row by clicking on the row header. Excel highlights the selected row for reference, which looks like this:

- After the desired row is selected or highlighted, we must press the combination of shortcut keys, i.e., Ctrl + (Minus Sign Key).
- As soon as we press the shortcut keys, Excel immediately deletes the selected row. We will get the following result after using the Excel delete row keyboard shortcut:
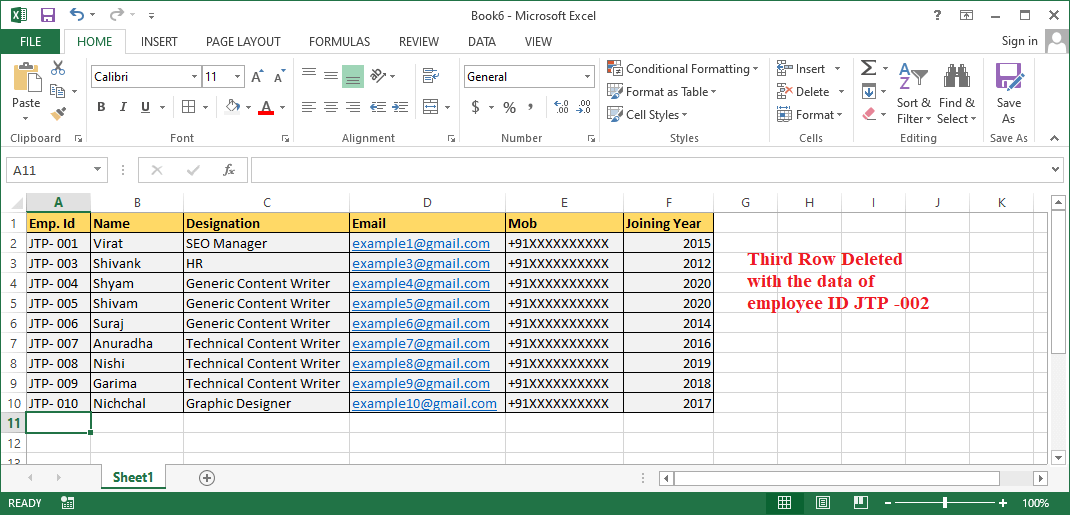
In the above image, we can see that the existing 3rd row has been deleted completely, and the 4th row is shifted at the place of the 3rd row.
If we select any cell of the row instead of the entire row, we will get the ‘Delete Cell Dialog Box’ after pressing the shortcut keys. It looks like the following image:
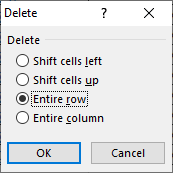
Here, we must click the radio button given before the option ‘Entire Row’, and then click on the ‘OK’ button. Alternatively, we can press the ‘R’ button and press the ‘Enter’ button on the keyboard.
Delete Row in Excel using the Right-Click Shortcut
MS Excel contains few most commonly used options in the right-click menu list, including the Insert and Delete commands. The list can be accessed by clicking on the right button on the mouse.
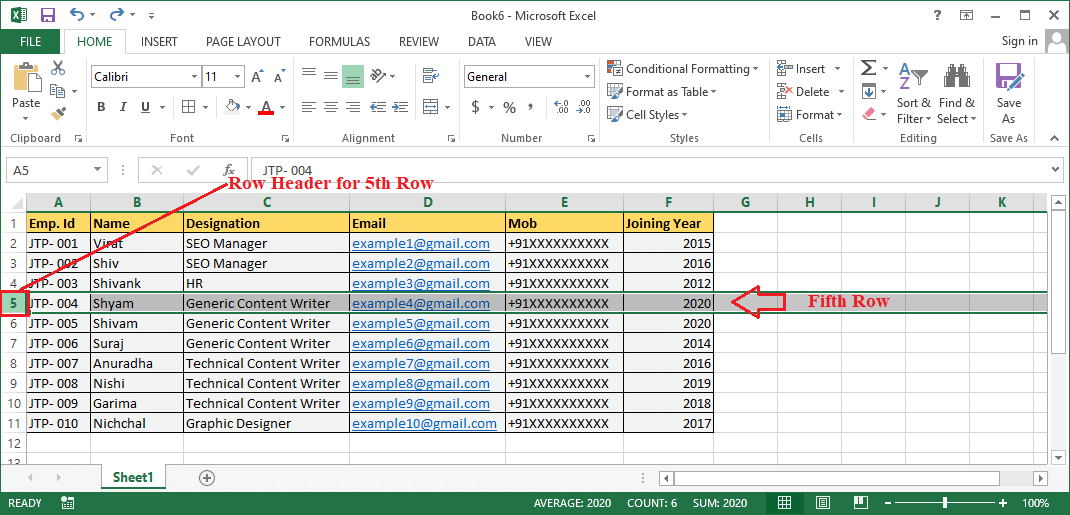
Let’s consider the Excel sheet with the following data set, where we want to delete the 5th row.
To delete the Excel row using the right-click menu shortcut, we need to execute the following steps:
- First, we need to select the specific row that we want to delete. In our case, we need to select the 5th row. To select an entire row, we must click on the corresponding row header.
- Once the row is selected, we must right-click with the mouse to access the list of menu options. After that, we need to click on the ‘Delete’ option from the list.
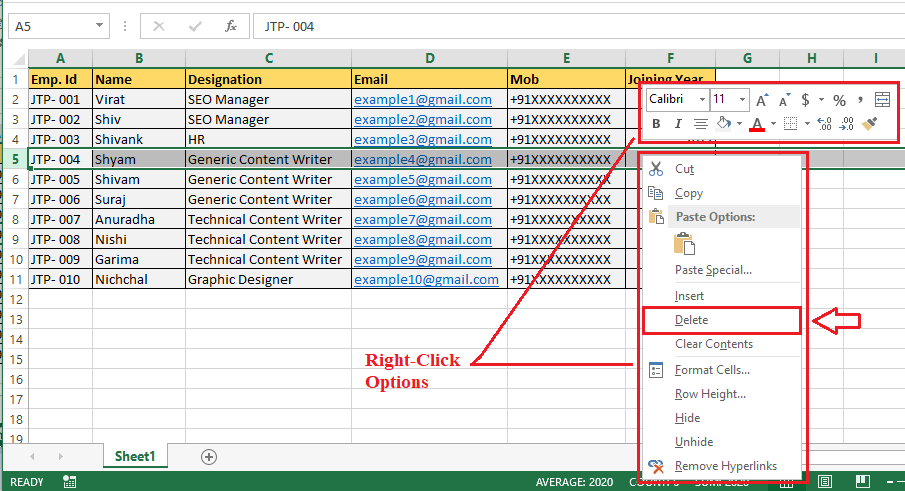
- After completing the previous step, we will get the ‘Delete Cell Dialog Box’ with four different options.
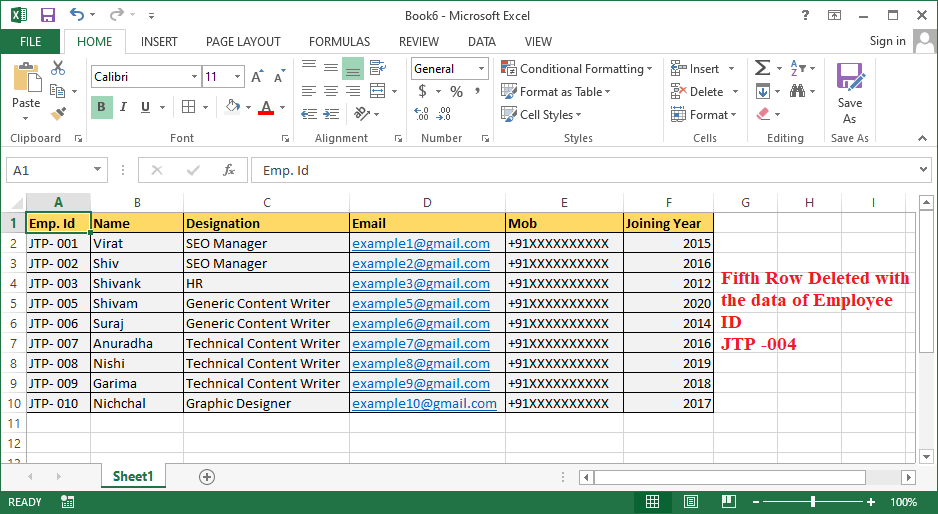
We need to choose the ‘Entire Row’ option and then click the ‘OK’ button. - As soon as we click on the ‘OK’ button, the selected row gets deleted immediately. After using the ‘Excel delete shortcut’ from the right-click menu, the result looks like the below image:
How to delete multiple rows by using the Shortcut?
When deleting multiple rows, we can repeatedly use any of the above-discussed shortcuts (keyboard shortcut and right-click shortcut) to delete individual rows one by one. However, it can be frustrating when deleting a high number of rows. Instead, we can first select all the rows that we want to delete and then use the shortcut just once.
When deleting multiple rows in Excel sheets, there can be two different scenarios. We may either need to delete the adjacent rows or the non-adjacent rows:
For Adjacent Rows
Let us consider the following example where we need to delete the adjacent rows (i.e., 5th, 6th, and 7th rows) with the completed tasks, which we have highlighted with pink for reference:

First, we need to select all the highlighted adjacent rows. For this, we need to press and hold the ‘Shift’ key on the keyboard, then click on the first and last adjacent row. This will select all the rows in between the rows we clicked.

Once the rows are selected, we need to use either the keyboard shortcut or the right-click shortcut to delete the selected adjacent rows. Let’s say if we use the Excel delete row keyboard shortcut Ctrl + (Minus Key), we will get the following result:
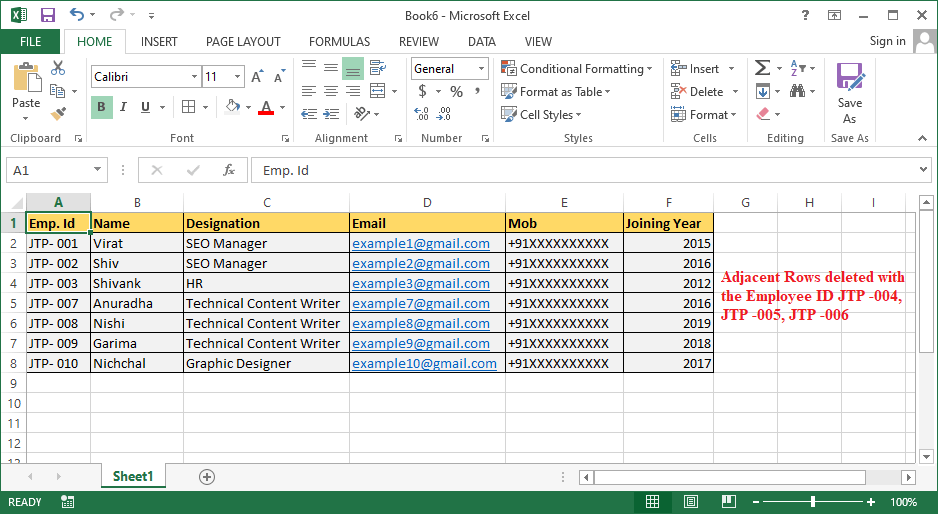
The selected adjacent rows are deleted in the above image, and the other rows are shifted accordingly. This way, we can delete the desired adjacent rows in Excel by using the ‘delete shortcut’.
For Non-Adjacent Rows
Non-adjacent rows are not always connected. They may or may not be connected sequentially, depending on the selection by the user.
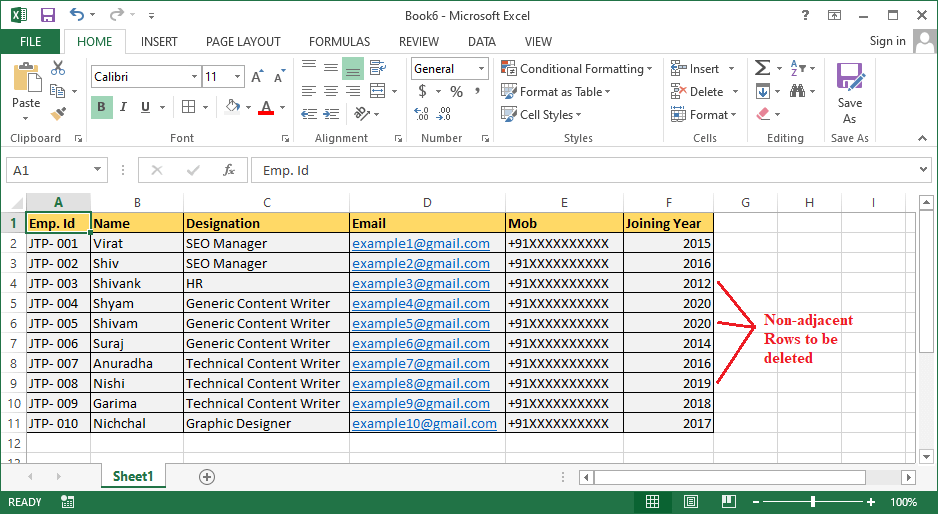
Let us consider the following example where we need to delete the non-adjacent rows (i.e., 4th, 6th, and 9th rows) with the completed tasks, which we have highlighted with pink for reference:
First, we need to select all the highlighted non-adjacent rows. To select desired non-adjacent rows, we need to press and hold the ‘Ctrl’ key on the keyboard, then click on each non-adjacent row one by one. This will select all the desired non-adjacent rows of the worksheet.

After selecting the rows, we need to use either the keyboard shortcut or the right-click shortcut to delete the selected non-adjacent rows. Here, we use the Excel delete row keyboard shortcut Ctrl + (Minus Key). By doing this, we can immediately delete the desired rows with ease.
We will get the following result after the deletion:

The selected non-adjacent rows are deleted in the above image, and the other rows are shifted accordingly. This way, we can delete the desired non-adjacent rows in Excel by using the ‘delete shortcut’.
Important things to remember when using Excel Delete Row Shortcut
While using the Excel Delete Row shortcuts, we must keep the following points on our mind:
- We must select the rows very carefully; otherwise, we might end up losing some essential data.
- If we select the cell instead of row and use the excel delete shortcuts, we will get the ‘Excel Delete Cell Dialog Box’.
- By default, Excel selects the ‘Shift cells up’ option in ‘Excel Delete Cell Dialog Box’. If we forget to choose the appropriate option, we will face wrong data moving issues in our worksheet. Therefore, we must select the option ‘Entire Row’ before clicking the ‘OK’ button.
- If we mistakenly select the ‘Shift cell up’ option, Excel will only delete the selected cell instead of an entire row. Additionally, the rest of the data will be shifted upwards.
- If we select the option ‘Shift cell left’, the Excel will only delete the selected cell, and the rest of the data will be automatically shifted to the left side.
- If we select the option ‘Entire Column’, Excel will delete the entire selection column.
- If we delete any cell/ row/ column mistakenly, we can click the undo button or press Ctrl + Z to revert the applied changes.


