

How to add a row and column to a table in Microsoft Word document
To add a cell, row, and column to a table, first, you need to create a table in a Word document.
Create a Table
Tables are a combination of rows, columns, and cells. In a Word document, tables are used to organize and present information in a better way.
Note: Cells are the combination of rows and columns.
Follow the below instruction to add a table in a Word document –
1. Open the new or an existing Word document.
2. Place the cursor in the document where you want to insert a table.
3. Go to the Insert tab on the Ribbon and click on the Table option in the Tables group.

4. An Insert table dialog box will appear on the screen. Select the numbers of rows and columns according to your requirement.
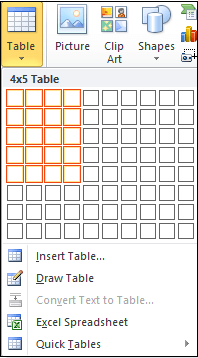
Note: In our case, we select four rows and five columns.
5. Press the Enter key from the keyboard or click to create the table.
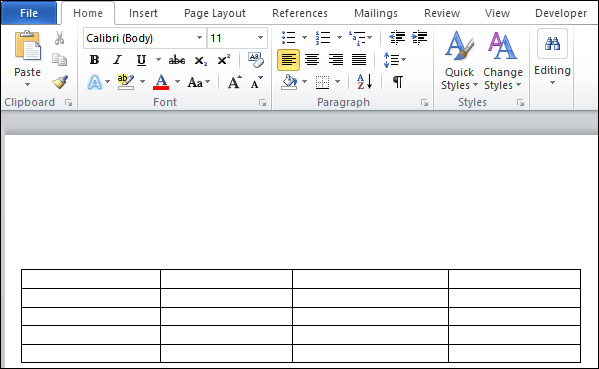
The screenshot below shows that a table with the rows and columns is inserted in the Word document.
Add a row above or below the table
Once you create a table in a Word document, you can able to add additional rows in your table based on your requirement.
Follow the below simple steps to add a row in the table –
Step 1: Place cursor in the table where you want to add a row.
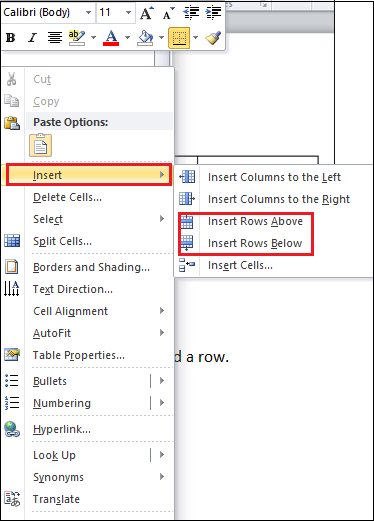
Step 2: Right-click on the selected area, the following dialog box will appear on the screen. Click on the drop-down menu associated with the Insert button.
- Click on the Insert Rows Above option to add a row above the selected row.
- Click on the Insert Rows Below option to add a row below the selected row.
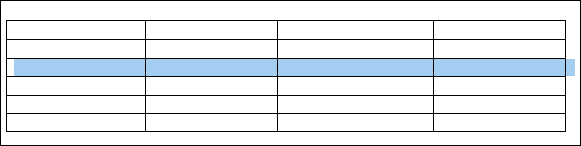
The screenshot below shows that a new row is added to the table.
Delete a Row from the table
1. Place the cursor in the row that you want to delete from the table.
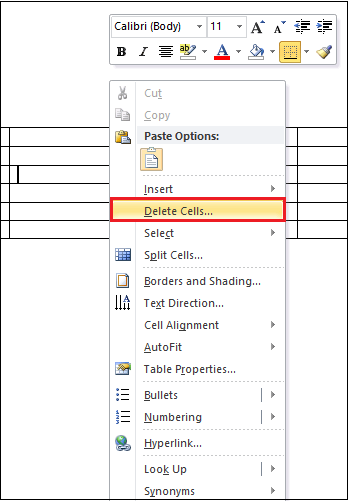
2. Right-click on the selected row, a list of options will appear on the screen. Click on the on Delete Cells.
3. A small Delete cells dialog box will appear on the screen. Click on the Delete entire row radio button and then click on the OK.

Now, you can see that your selected row is deleted from the table.
Add a column to the table
Adding additional columns in Word document is not a difficult task for you. Follow the below-mentioned steps to add a column to the table.
Step 1: Place cursor in the table where you want to add a column.
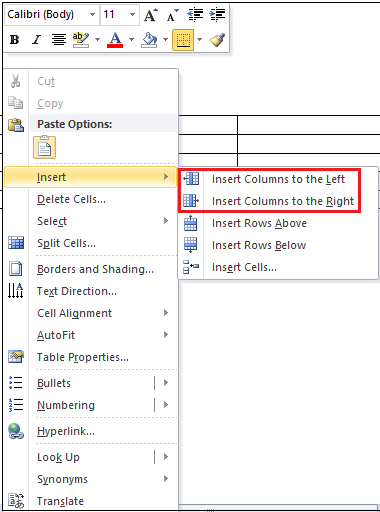
Step 2: Right-click on the table, a list of options will appears on the screen click on the drop-down icon associated with the Insert.
- Click on the Insert Columns to the Left to add the column left side of the table.
- Click on the Insert Column to the Right to add the column right side of the table.
The screenshot below shows that column is added to the table.
Note: In our case, we want to insert the table right side of the selected column, so we use Insert Column to the Right option.
Delete a Column from the table.
In the Microsoft Word document, follow the below instructions to delete unnecessary columns from the table.
1. Place cursor in the column that you want to delete.
2. Right-click on the table, a list of options appear, click on the Delete cells.
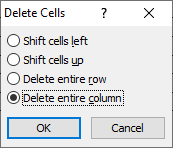
3. A delete cells dialog box appears, click on the Delete entire column radio button.
Now, you can see that the selected column is deleted from the table.

Add a Cell
Cell is a combination of rows and columns.
There are the following steps that you can use to add a cell to the table –
Step 1: Place cursor in the table where you want to insert a cell.
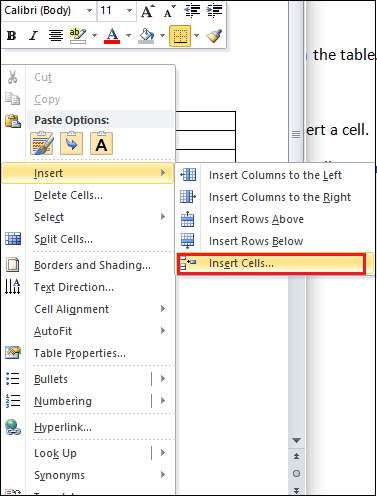
Step 2: Right-click on the table, a list of options will appears on the screen click on the drop-down icon associated with the Insert.
Step 3: Click on the Insert cells option.
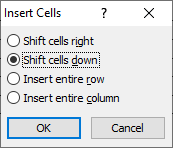
Step 4: An Insert Cells dialog box will appear on the screen. Cslick on the Shift cells down radio button, and click on the OK button.
The screenshot below shows that a new cell is added to the table.


