

How to add document properties in a Word document
Document properties are also referred to as metadata. They include information related documents such as title, author name, subject, and keywords to identify the document’s topic.
In Microsoft Word, there are the following four types of document properties –
- Standard properties
- Automatically updated properties
- Custom properties
- Document library properties
Create a custom property for the current Word document
In Microsoft Word 2010, follow the below steps to create a custom property for current Word document –
Step 1: Open the new or an existing Word document.
Step 2: Click on the File tab at the top left corner of the document.
Step 3: A list of file options will appear on the screen with the selected Info tab.
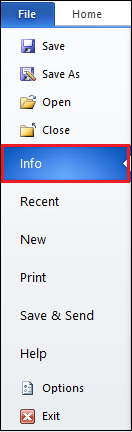
Step 4: Click on the drop-down menu associated with the Properties. Select Advanced Properties from the Properties drop-down menu.
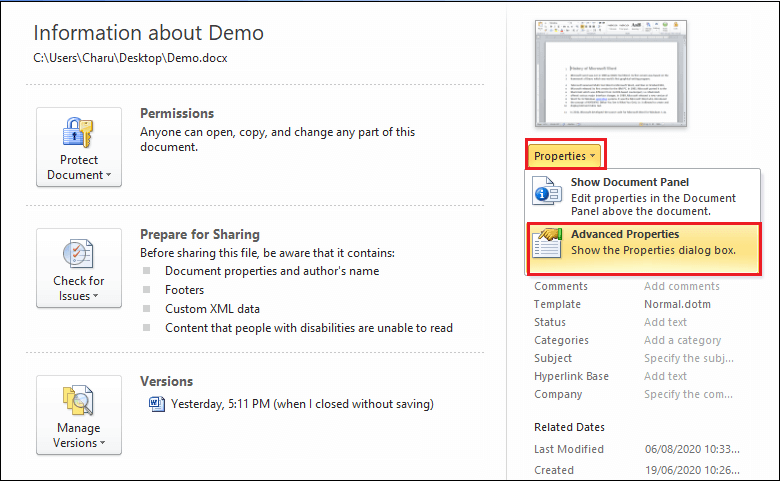
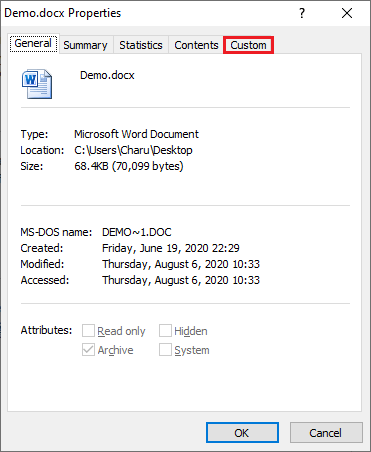
Step 5: A current document Properties dialog box will appear on the screen in which click on the Custom tab.
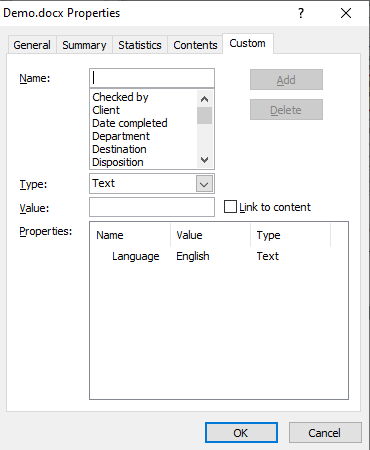
Step 6: A custom tab will open with the following text fields –
Name: Enter the Custom property name in the Name text field or you can also select name from the Name list.
Type: Select Type from the Type list
Value: Type Value for the custom property
Once you enter Name, Type, and Value in the custom tab, click on the OK button at the bottom of the screen.
Now, you can see that your desired custom properties are added to the Properties section.
Set Advanced document properties in Word document
Follow the below-mentioned steps to set advanced document properties in Word document –
Step 1: Open the new or an existing Word document where you want to set advanced document properties.
Step 2: Go to the File tab on the Ribbon. A list of File options will appear with the selected Info option.
Step 3: Click on the drop-down menu associated with the Properties and select Advanced Properties on the right side of the Info screen.
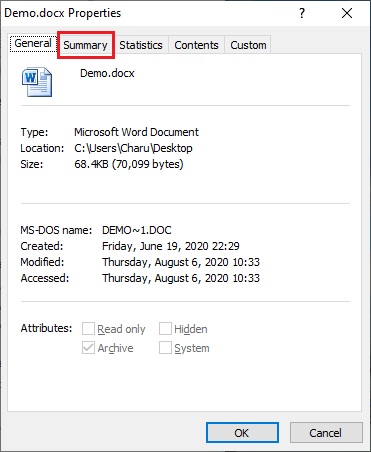
Step 4: An Advanced Properties dialog box will appear on the screen in which click on the Summary tab.
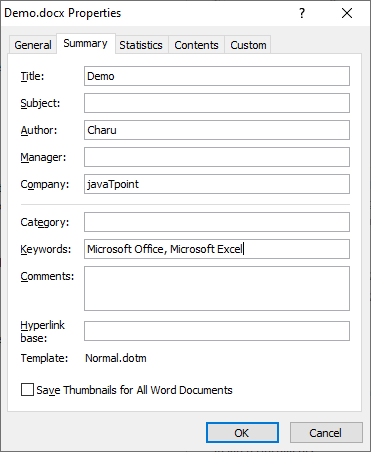
Step 4: A Summary dialog box will appear on the screen in which enter the information related to your current documents such as Title, Author, Subject, Company name, Keywords, and more.
Once you fill all necessary information in the Summary dialog box, click on the OK button, as shown in the screenshot below.
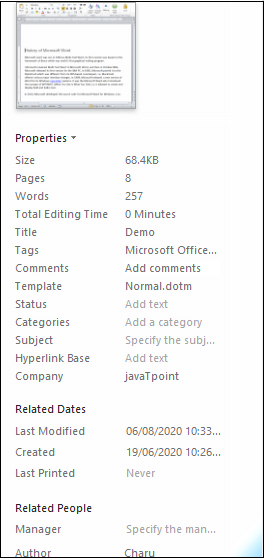
Now, when you open the Info Tab, the information you entered in the summary dialog box will appear on the screen.
Show advanced document properties to the current document
Microsoft Word allows you to show (display) and edit the advanced document properties at the top of the current document.
Follow the below instruction to see the advanced document properties –
1. Open the Word document where you set the advanced document properties.
2. Go the File tab on the Ribbon, a list of options will appear on the screen with the selected Info tab.
3. Click on the Properties drop-down menu and click on the Show Document Panel option on the Right corner of the Info screen.
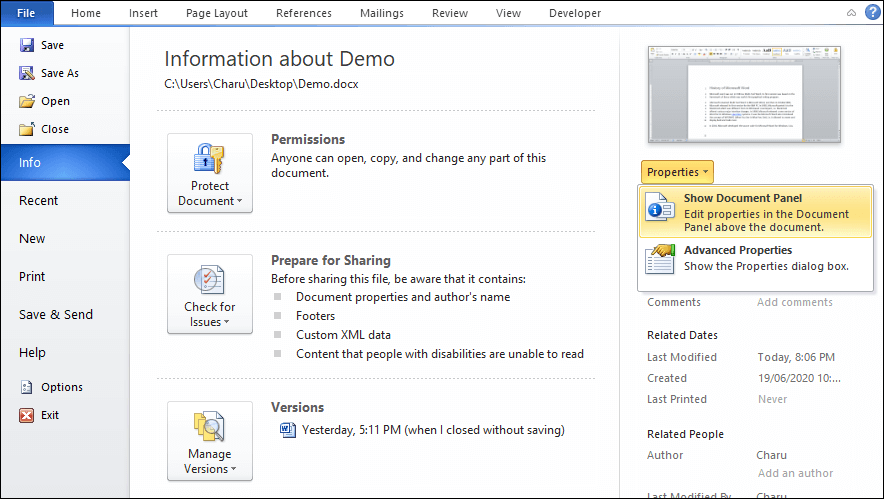
4. The screenshot below shows that Document Properties option will automatically appear at the top of the current Word document.
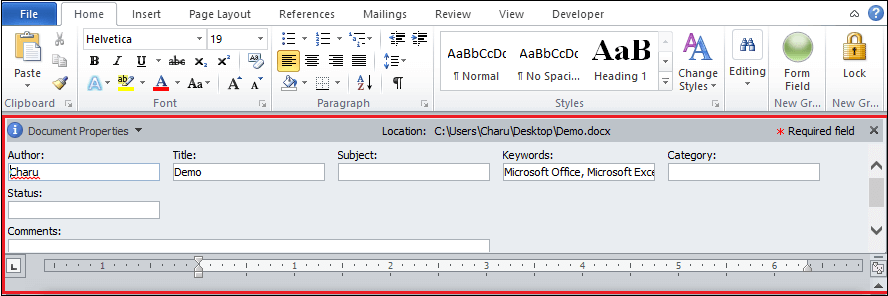
Note: Using the Document Properties panel, you can also edit the entered information.
To close the Document Properties panel, click on the cross (×) button in the upper right corner of the Document Properties panel.


