How to add fonts in Microsoft Word
Fonts are an essential part of a Word document. Proper use of fonts helps us to make our document more attractive and beautiful.
Microsoft Word comes with a number of pre-defined fonts, but you can also download fonts from the internet to make your document attractive.
Follow the below steps to add a font in Microsoft Word.
Step 1: Choose and Download a font
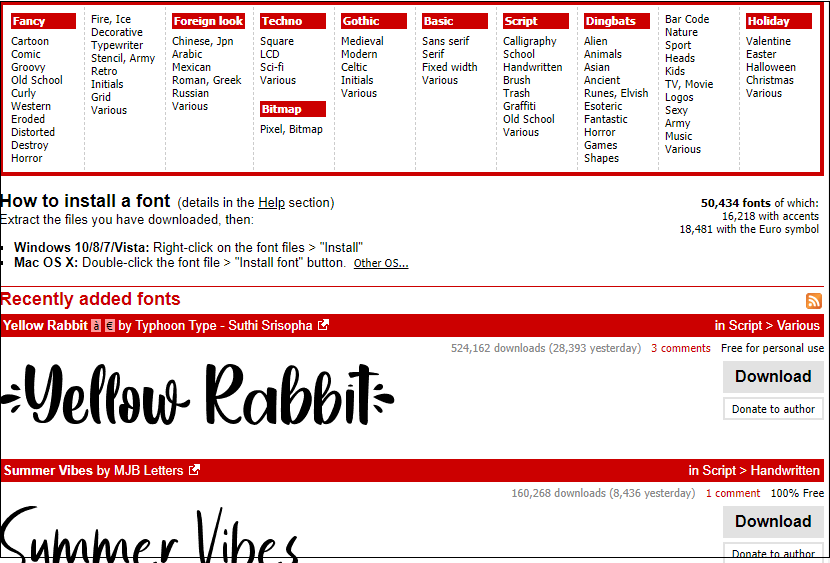
There are several websites available on the internet that offer thousands of free highest quality fonts. Some popular free font websites are Dafont.com, FontAquirrel.com, Urbanfonts.com, and FontSpace.
There are several websites available on the internet that offer thousands of free highest quality fonts. Some popular free font websites are Dafont.com, FontAquirrel.com, Urbanfonts.com, and FontSpace.
Click on the below link to visit Dafont.com.
The below window will appear. Select the fonts that you want to add and click on the Download button associated with the selected font.
Once you click on the Download button, a zip file starts to download. Extract the downloaded file and save it.
Step 2: Adding an Extracted font to Word
Now, you need to add extracted font to Word. To do this, go to the start button and search for the control panel.
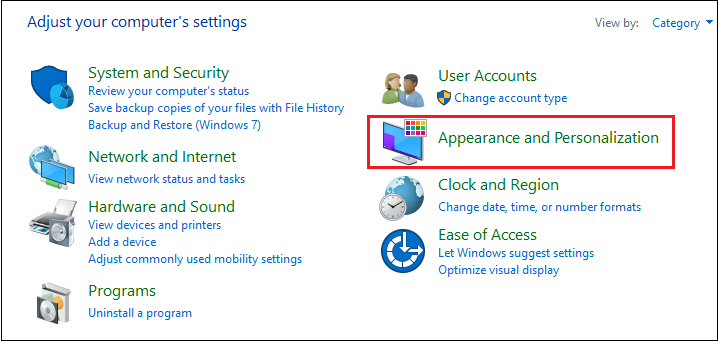
Once the control panel window will open, click on the Appearance and Personalization.
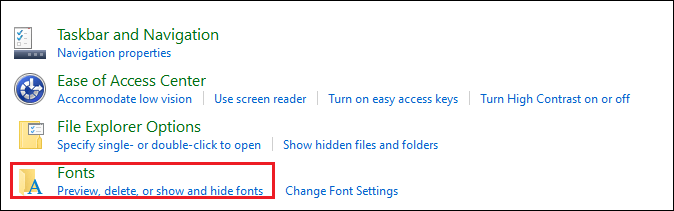
Click on the Fonts, as shown in the below screenshot.
The following window appears on the screen in which drags the extracted font into the fonts window.
The below screenshot shows that the extracted font is added into the fonts window.
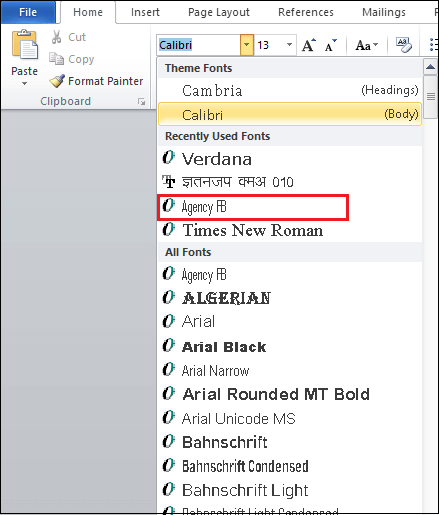
To make sure font is added in the Word document, open the new Word document, and click on the drop-down associated with the fonts. Here, search for a newly created font.
The below screenshot shows that the font is added in the Word document.