How to insert a line in Word
Lines are the basic design element in Word. It helps us to improve the document’s readability. In Microsoft Word, we can insert two types of lines.
1. Horizontal Lines
Horizontal Lines are also called as horizontal rules. These lines help us to separate sections of text.
There are the following methods to insert a Horizontal line in Word.
Method 1: Using Shape Tab
Shape tab contains a variety of lines options, including the arrow lines, straight lines, and more.
Step 1: Open the Word document and place the cursor in the document where you want to insert a line.
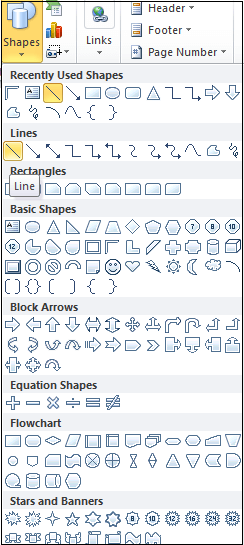
Step 2: Click on the Insert tab from the ribbon and select Shapes from the Illustrations section.

Step 3: Once we click the Shapes, the shapes menu appears on the screen.
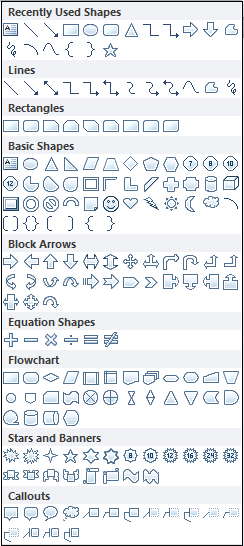
Step 4: Select the line that you want to insert, hold that line, and drag it in the selected location.
The below screenshot shows that line is inserted in the Word document.
Method 2: Using Shift + dash (“-“) key
Shift+dash (-) key is the easiest way to insert the bold line. The bold lines commonly used in documents such as letters, page titles, resumes, project reports, forms, etc. The main purpose of inserting bold lines is to make our document well maintained and good looking.
Follow the below steps to insert a bold line using Shift+dash (“-“) key.
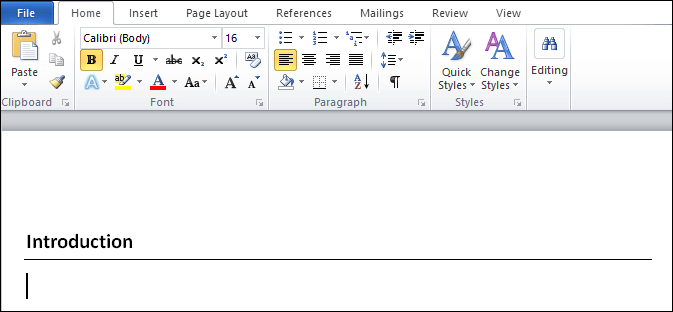
Step 1: Go to the Word document where you want to add a bold line.
Step 2: Press the “Enter key” to make a space between text and line.
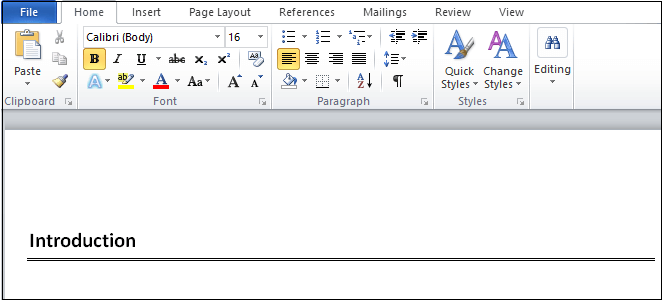
Step 3: Press and hold the Shift and dash (“-“) keys. Once the line is drawn on the page, press “Enter Key.” You can see the Word automatically generate a bold line on the page.
Method 3: Typing a few character (—, ===, ___, ***, ###, ~~~) from Keyboard
In Microsoft Word, you can insert various different types of lines using the below simple steps.
Step 1: Open the Word document and place the cursor where you want to insert the line.
Step 2: Type characters listed below and press Enter Key.
- Hyphens
To insert a plain line, type three continuous Hyphens (—) and press Enter key. The below screenshot shows that plain line appear on the screen.
- To insert a double plain line, type three continuous equal sign (===) and press the Enter Key.
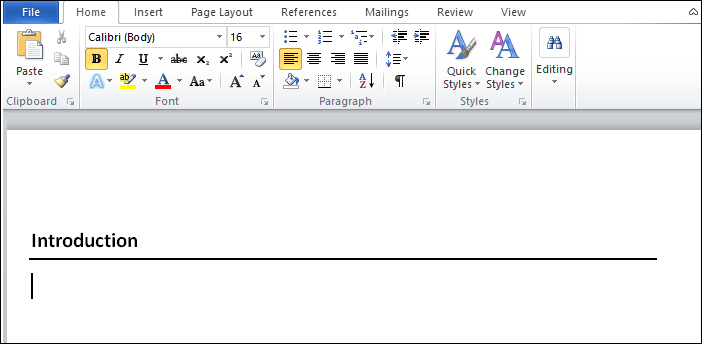
- To insert a bold line, type three continuous Underscore (___) and press the Enter Key.
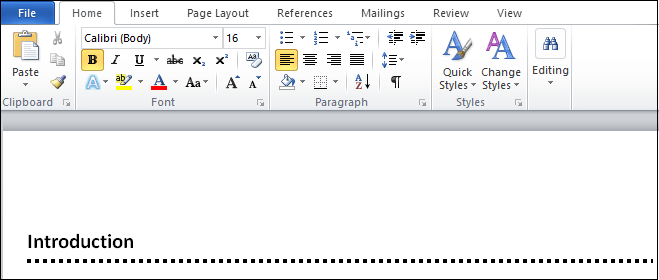
- To insert a Broken or dotted line, type three continuous Asterisks (***) and press the Enter Key.
- To insert a triple line with a thick center, type three continuous Number signs (###) and press the Enter key.
- To insert a wavy line, type three continuous Tildes (~~~) and press the Enter key.

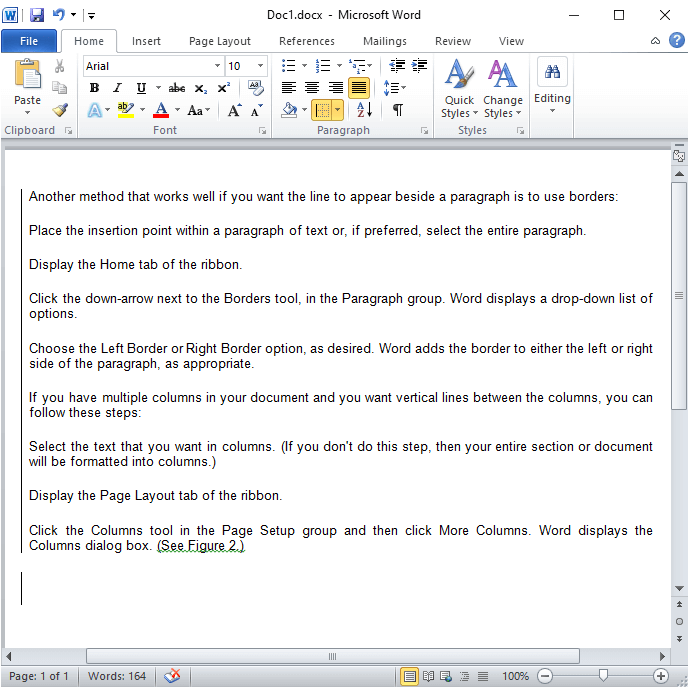
Method 4: Using Border from the Ribbon
There are the following steps to insert a line using border –
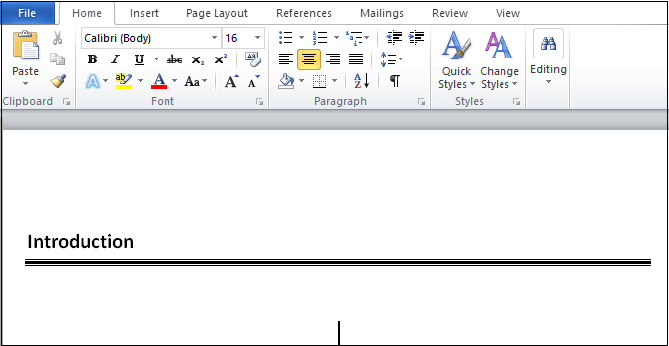
Step 1: Open the word document and place the cursor on the document where you want to insert a line.
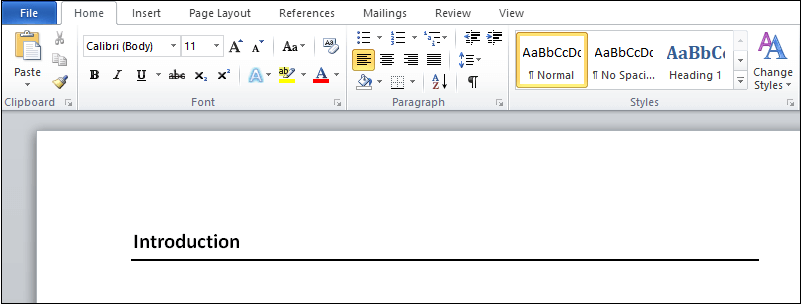
Step 2: Go to the Home tab and click on the Bottom border option in the Paragraph section.

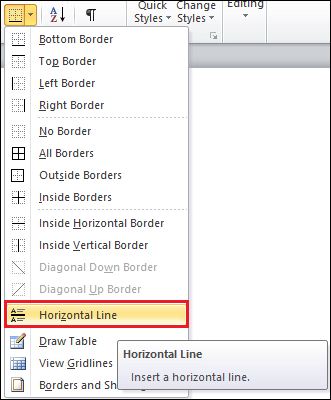
Step 3: The following menu appears on the screen in which click on the Horizontal Line.
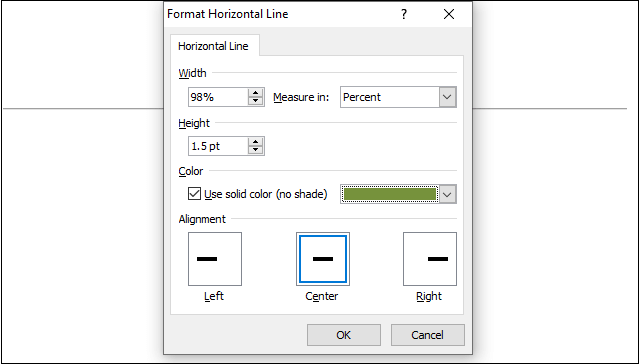
Step 4: A horizontal line appears on the screen. If you want to change the height, width, color, and alignment, then double-click on the line. A Format Horizontal Line window pops up. Arrange height, width, color, and alignment according to your requirement and click on the OK.
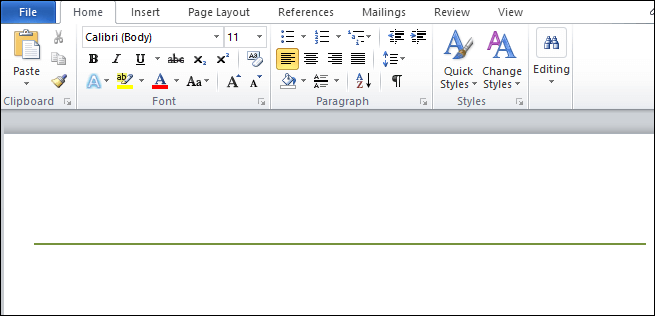
The following line appears on the screen.
2. Vertical Lines
Vertical lines are used to separate the column of text in the word document.
There are the following methods to insert a vertical line in the word document –
Method 1: Using Page Layout
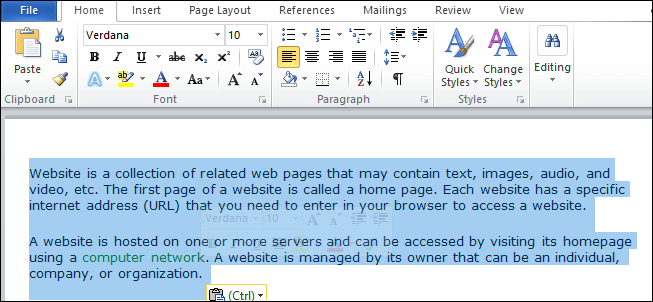
Step 1: Open the word document where you want to insert a vertical line.
Step 2: Select the document, as shown in the below screenshot.
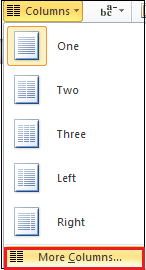
Step 3: Click on the Page Layout at the top of the screen and select Columns from the Page Setup section.

Step 4: The following Columns menu appears on the screen, click on the More Columns.
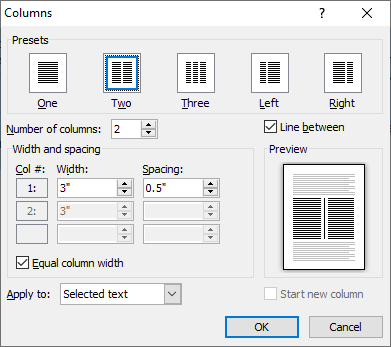
Step 4: The Columns window will appear. Select the number of columns that you want to add, tick on the Line between checkbox, and then click on the OK.
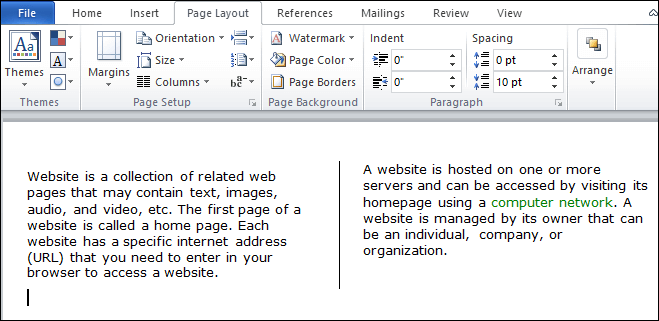
The below screenshot shows that the page is split into two columns.
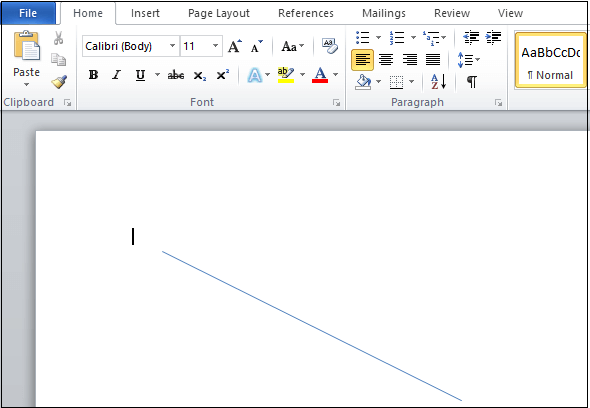
Method 2: Using the Shape Tab
Step 1: Open the Word document and place the cursor on the document where you want to insert a line.
Step 2: Click on the Insert and select Shapes from the Illustrations section.

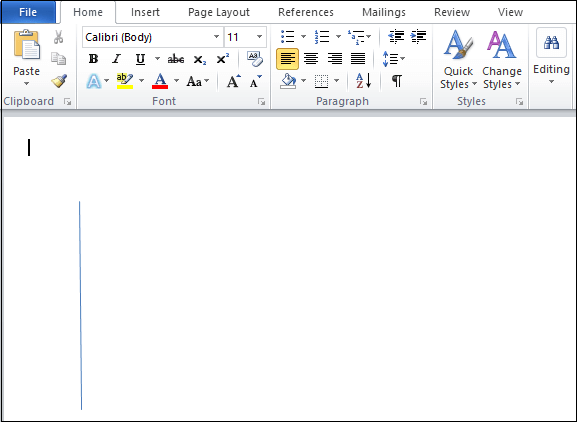
Step 3: The Shapes window appears on the screen. Select shape according to your requirement and draw it on the Word document.
The below screenshot shows that line is added on the Word document.
Method 3: Using Border Bottom
Step 1: Go to the Home tab and click on the Bottom Border icon from the paragraph section.
Step 2: The following window appears on the screen, which contains a list of the border. Click on the Left border.
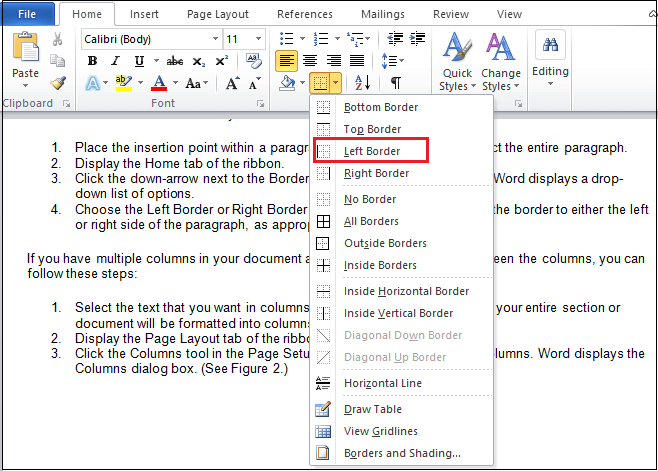
The below screenshot shows that the left vertical border is added on the Word document.