

Mail merge in Excel
Mail merge is not an MS Excel feature, actually. It is a feature of MS Word, which is available inside the Mailing tab in Microsoft Word. However, MS Excel also helps MS Word to perform mail merge. Mail merge is an interesting feature that allows to incorporates the data from both Excel and Word and creates multiple documents at once, such as – letter.
For example, you can write a letter and create a mail merge to print it with 10 different salutations like Dear Krish, Dear Joe, Dear Mack, etc. These names are stored in an Excel sheet. This way, it saves the time of users to retype and recreate the multiple documents with minimal difference.
In this chapter, we will discuss how mail merge works by pairing both Excel and Word applications to create multiple documents.
What is mail merge?
Mail merge is the quickest way to customize the document, like email and newsletters. It allows the users to create the personalized documents that will automatically vary recipient-by-recipient. It saves the effort to create a personalized document for multiple recipients at once. For example, invitation letter.
Mail merge works with Excel spreadsheet to create multiple personalized documents. This Excel spreadsheet contains such information, names, email address, address, etc.
Placeholder
Mail merge has fields, which are known as placeholders. These placeholders are placed in Word files, whose respective values are picked from the defined Excel spreadsheet. For example, <<first name>>, <<email>>, etc. Thus, the column names in that Excel spreadsheet must be the same as the field names.
Placeholders are also called merge fields. These merge fields fetch the value of the respective fields from the Excel spreadsheet linked with your current word file.
Need of mail merge
Here is an example –
You want to send the birthday invitation to your friends and relatives. However, the invitation message will be the same, but you want each email to include a salutation with their names and a greeting line.
If you create it manually for each person individually, it will take a lot of time and effort to create separate emails. Thus, the mail merge will help you to create an email or letter by paring Word and Excel spreadsheet and make the task done.
Mail merge with Excel
Although you can perform mail merging only with MS Word. But when it needs to create multiple documents of the same type, we will suggest you to use an Excel spreadsheet.
- It will save time and reduce the hectic of users by creating multiple documents in one go.
- It reduces the effort of users to retype the data and create each document separately.
- Data for mail merge is stored inside the Excel spreadsheet, such as – names, addresses, etc.
- You can use the mail merge feature of Word to create any type of documents, such as – Invoices, Inventories, letters, labels, catalogues, envelopes, etc.
- Mail merge seems complex, but it not that tough. We will make it easy for you by explaining it step by step.
Step to mail merge
Mail merge requires the following important steps:
- Create an Excel spreadsheet and prepare data
- Start creating a mail merge in MS Word
- Connect the Excel file to Word file
- Insert merge fields to your document
- Save your created mail merge
Essential point to know
You should know the following things while preparing mail merge:
- Column names of your Excel spreadsheet must be the same as field names you want to insert in the mail merge.
- All the data you want to insert in a mail merge should be present in the first sheet of your Excel spreadsheet.
- Your Excel file must be saved on your local machine to incorporate the data from it.
- Data with percentage, currency, and postal code should be formatted properly so that MS Word can read them properly.
- If you want to make any changes to your Excel sheet, it must be done before the mail merge.
- If you have added a zip code column in Excel, you have to change it to postal code instead of pin code or zip code.
Example
Using an example, we will show a detailed method to create a mail merge. In this example, we will create a letter through mail merge. Follow the steps for it:
Create and prepare an Excel sheet
Step 1: The first thing is to create an Excel spreadsheet along with the header. We have created this one.
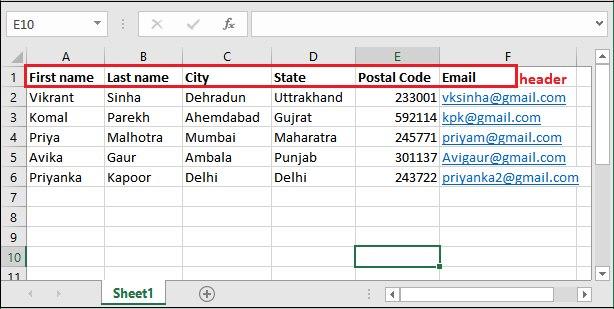
Well organize the data into your Excel sheet and save the file at a particular location.
Also, remember the points we discussed above while performing a mail merge.
Start creating mail merge
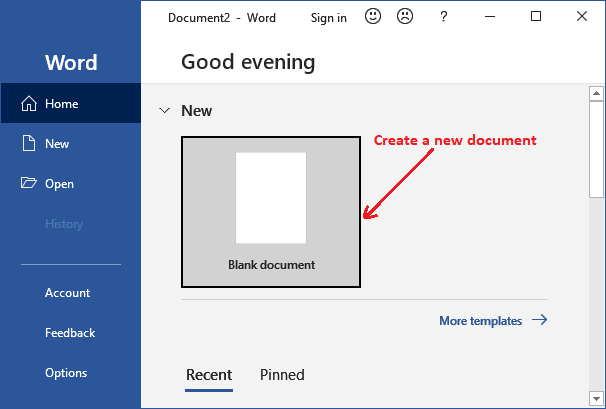
Step 2: Open MS Word and create a new file.
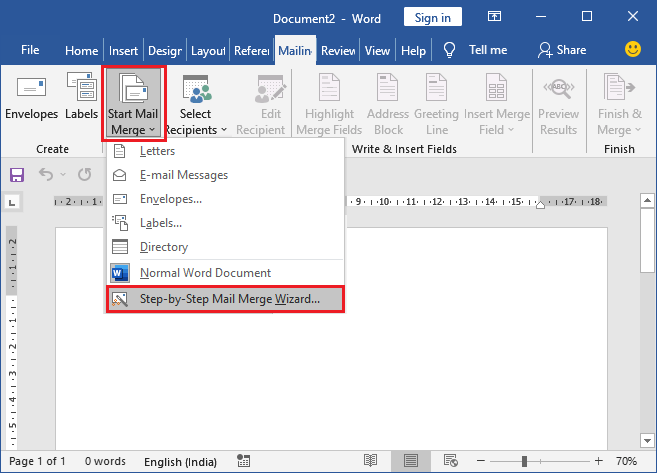
Step 3: Inside the Mailing tab, click on the Start Mail Merge dropdown list and choose the Step-by-step merge wizard.
Step 4: On the right side of your panel, a small window will appear where choose a document. For example, mark the Letter radio button and click Next Starting document.
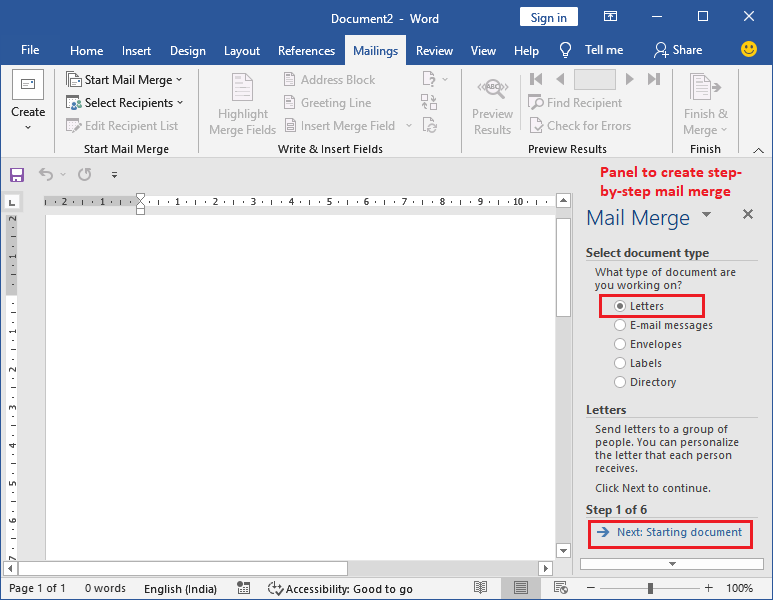
It will provide step-by-step guidance for creating a mail merge for the selected document. However, we have also defined the steps for it.
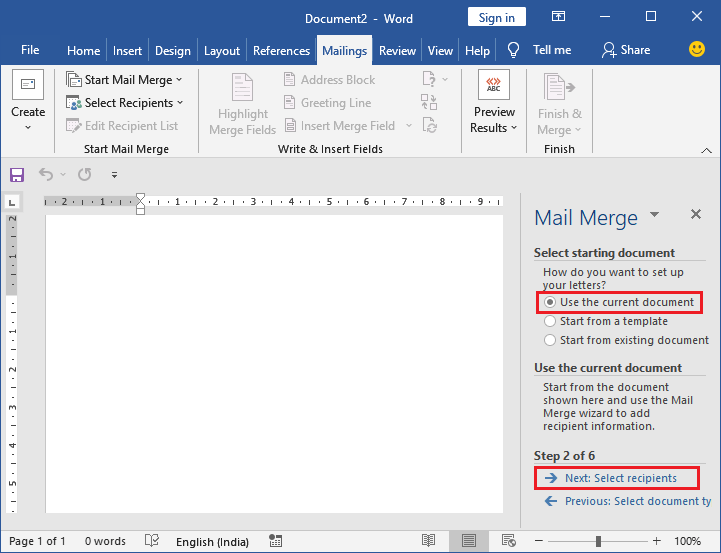
Step 5: The next step is to choose the starting document. Thus, select the Use the current document and move to the next step by clicking the Next Recipient at the bottom.
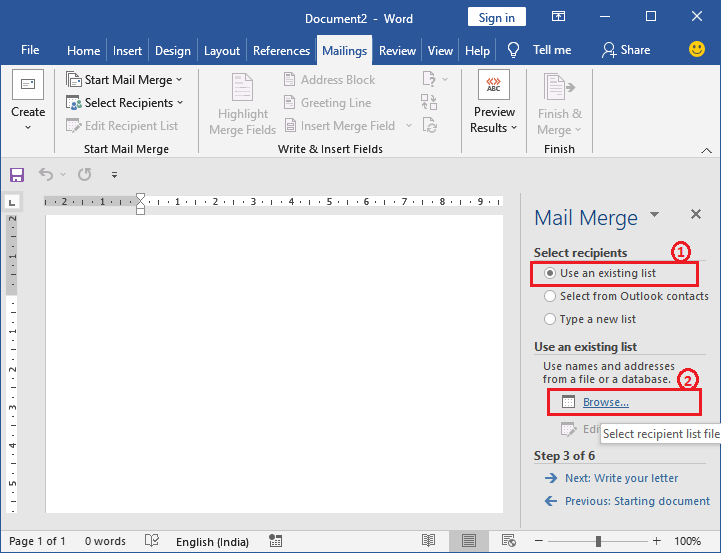
Step 6: Now, leave the Use an Existing List option as selected and click on the Browse to use the name and address from the Excel file.
Connect Excel file with Word file
Step 7: Go to the location where you saved the Excel file (prepared for mail merge) and when you find your file, select it and click the Open button.
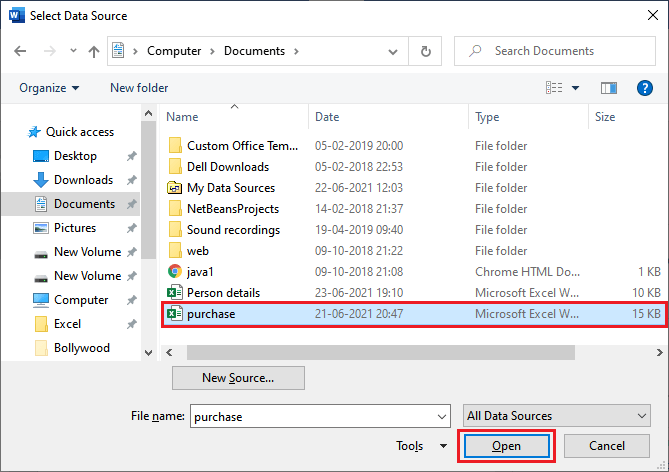
Note: You cannot make changes to your Excel file this time (while creating mail merge).
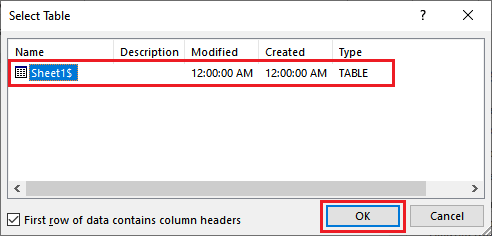
Step 8: A new wizard will open that will ask you to select a table. If your Excel spreadsheet has only one table, click OK.
Insert merge fields to your document
Step 9: A list of all Excel data will be opened here containing the recipient list. You can also leave off certain names from here if you want to. Otherwise, click OK.
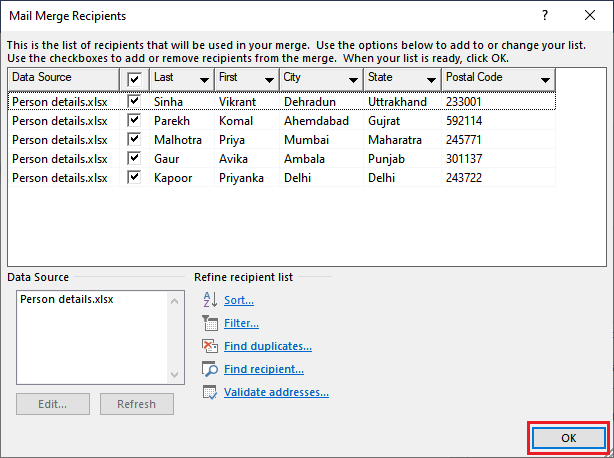
The table will be closed, and you will again off to the right panel of your Word file.
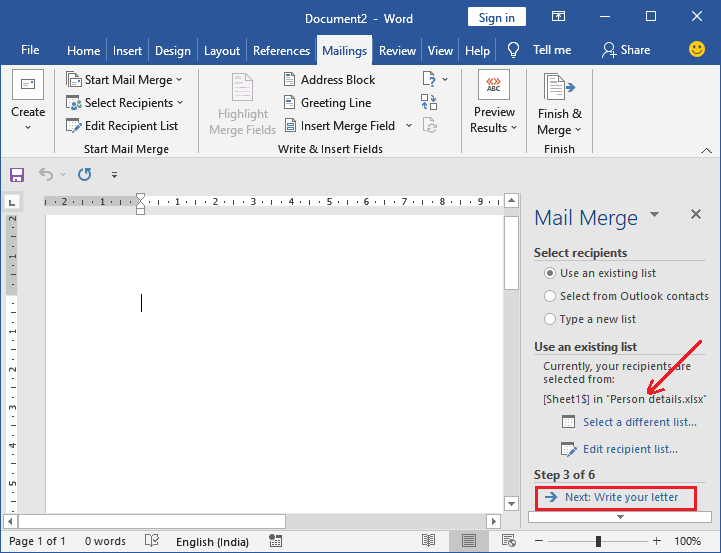
Step 10: Here, you see the title of your Excel spreadsheet is added here (in Currently, your recipients selected from:).
Move to the next step by clicking the Step: Write your letter from the bottom of the panel and complete the remaining steps.
Write letter and add salutations and greeting lines
Now, it’s time to write a letter and insert salutations and greeting lines to your invitation letter.
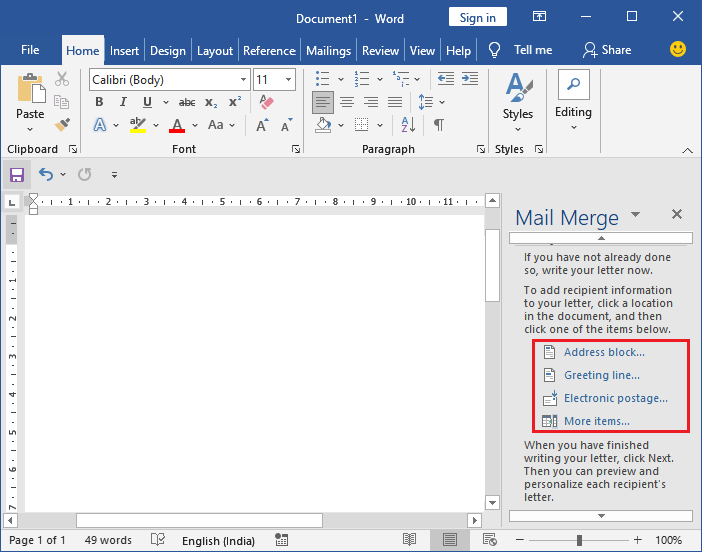
Step 11: In the right panel, you will see different options, using which you can insert formatted addresses, salutations, electronic postage, and more items here. So, start adding the recipient information from your spreadsheet to here in the letter.
Step 12: Firstly, click the Address block link; a wizard will open where choose the recipient name’s format how you want to display it on the invitation letter and click OK.
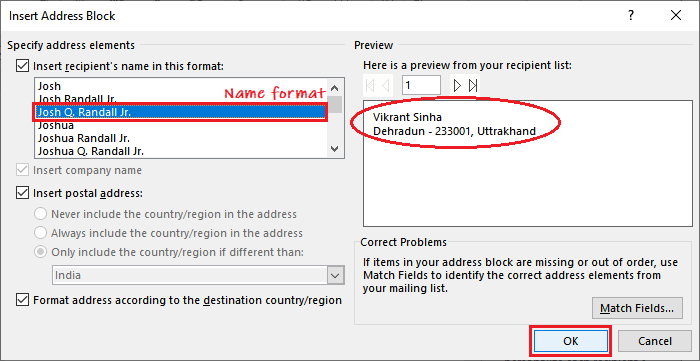
Step 13: As it is an invitation card, so if you do not want to add the address, unmark the Insert postal address checkbox and click OK.
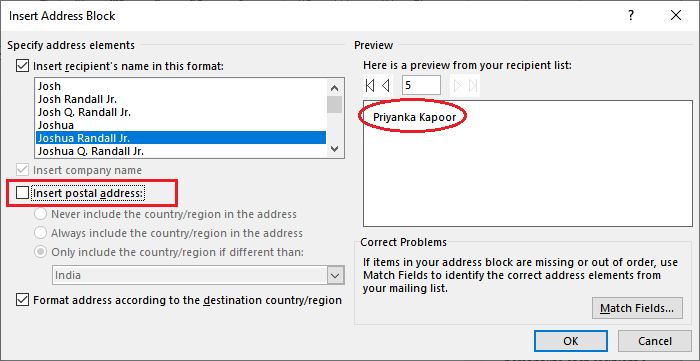
Tip: If you have defined any field name with another name in the Excel spreadsheet, which is not available here, click the Match Fields button. For example, postal code as zip code.
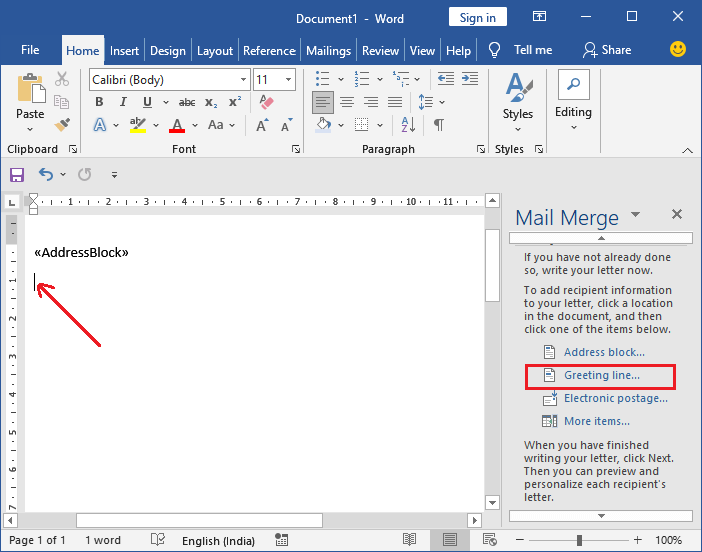
Step 14: Now, take the cursor to the next line, click the Greeting Line to add salutation or greeting line to invitation with name. For example, Dear XYZ.
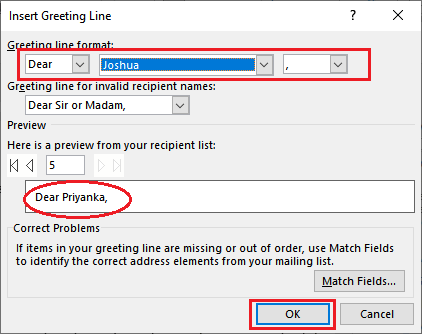
Step 15: Define the salutation here and close the panel by clicking the OK button. You can also provide a greeting line and given a proper salutation in your letter.
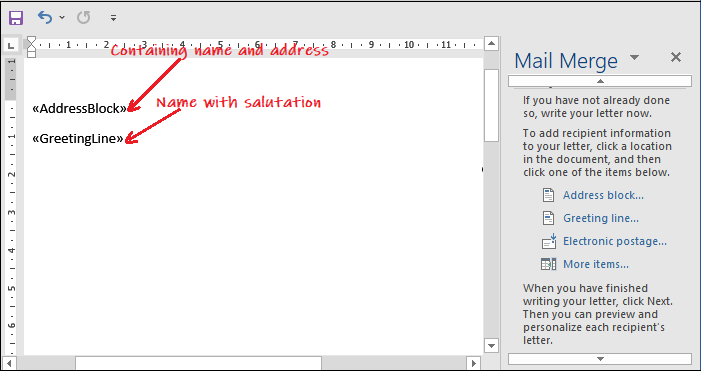
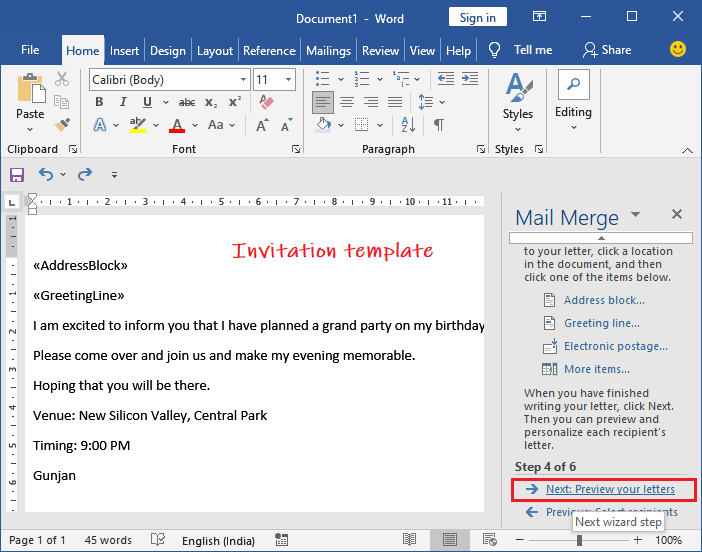
Step 16: See that address block and greeting line is added. Now, complete the letter.
Step 17: The letter will look something like as showing below:
Next, go to the next step Preview your letter.
Step 17: You can preview each letter and check details are correct and organized inside it, which is populated from the Excel spreadsheet. It contains the Previous and Next buttons over here.
“Placeholders are automatically replaced with their respective data.”
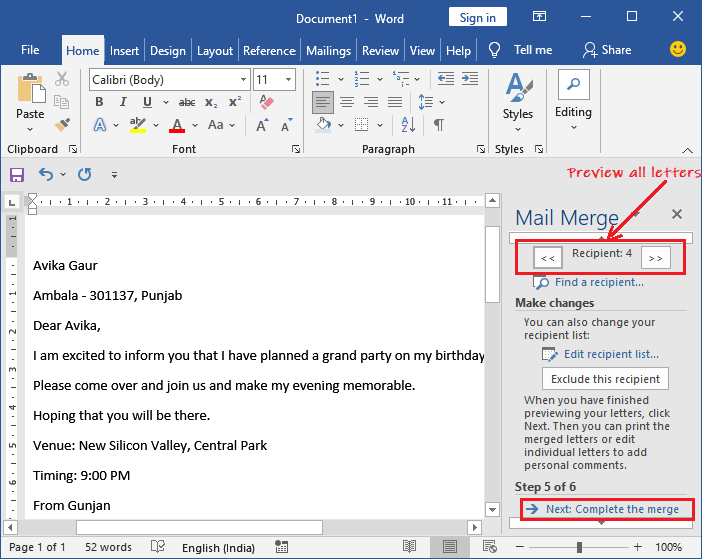
If everything is alright and all information is correct, click on the Complete the Merge to finish the merge process.
Step 18: Now, click on the Print option here.
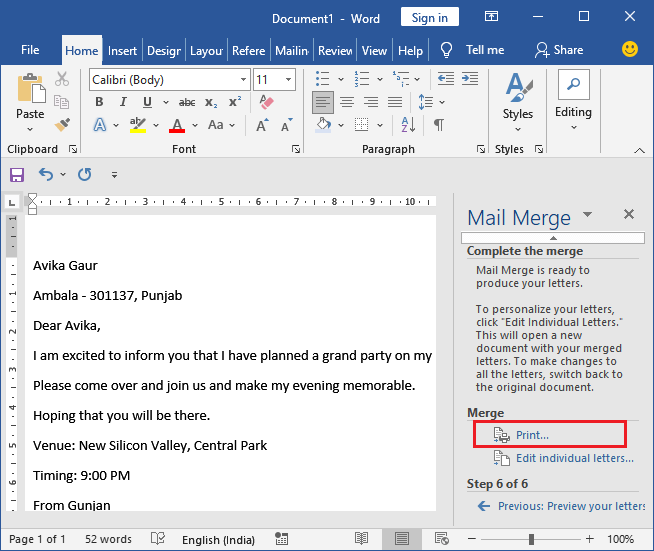
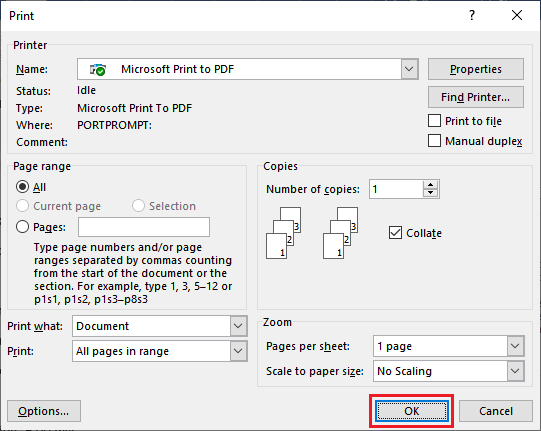
Step 19: It will ask you to the print current record or print all the letters from your database. Choose accordingly and click OK in the end.

Step 20: It will create a pdf of all your invitations. Nothing to do here, just click OK.
Step 21: Now, save the copy of the output in default pdf format on your local device. Provide a name and save them on a location.
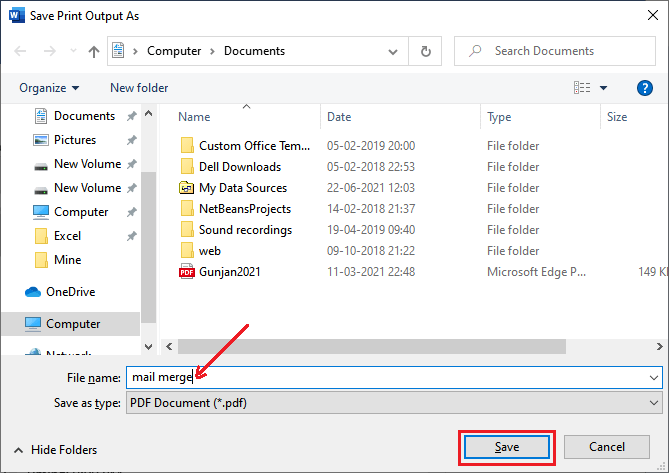
A pdf copy of all invitations is saved to your selected location on your computer.
Email Invitations
Instead of printing and saving the document to your local device, you can directly mail it to the persons.
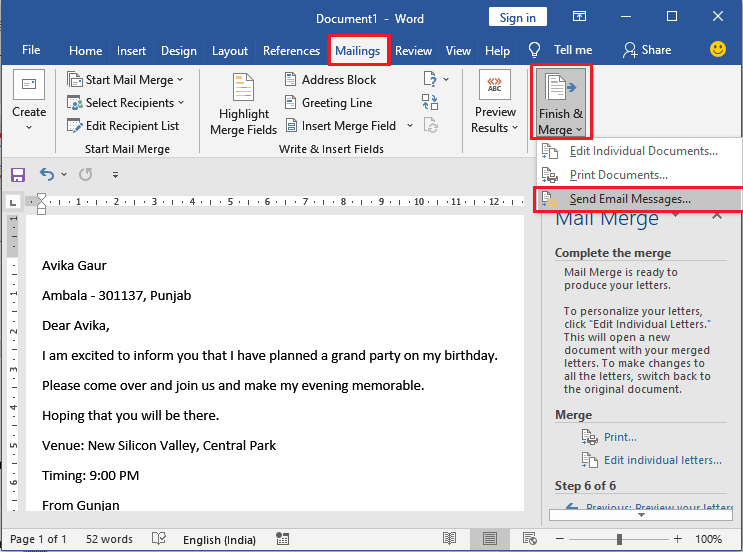
Step 22: For this, inside the Mailing tab, go to the Finish & Merge and click on the Send Email Messages to email the invitations.
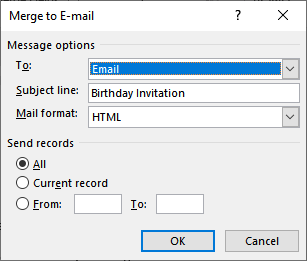
Step 23: Choose the Email field of your spreadsheet inside To field.
Provide a subject line for the email.
Keep the Send Record to All and then press OK.
It will redirect you to user Gmail id on the browser where send the prepared invitations to all.
Tip: It is good to look over the letter by yourself to check typos, formatting, and everything is fine.
Now, this task has been completely done.
How to insert merge fields separately
You can also insert the individual merge fields (placeholders) to your document separately. This can be needed when you want to place only a single field somewhere in between the document. It will help you.
You can add the placeholder (merge fields) from the Insert merge field dropdown list options under the Mailing tab. This list will contain the column headers of your Excel spreadsheet. Choose one and add a placeholder here. For example, firstname.
Steps to insert merge fields
We will show you this for the birthday invitation letter just the way we have done it above.
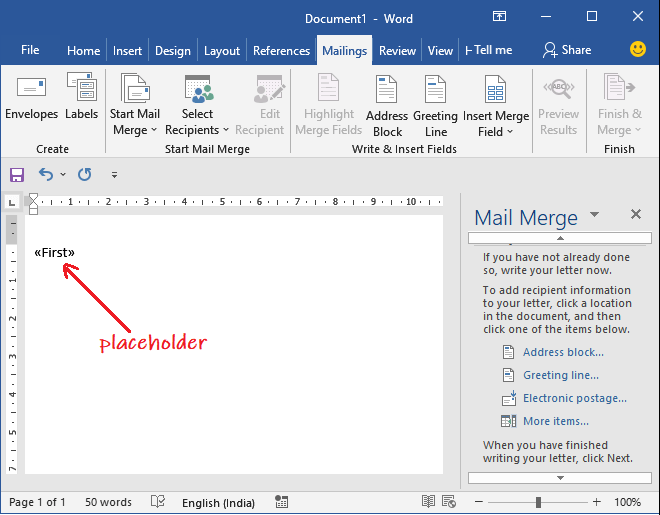
Step 1: Take control where you want to add your first placeholder. Then, inside the Mailing tab, click on the Insert Merge Field dropdown list.
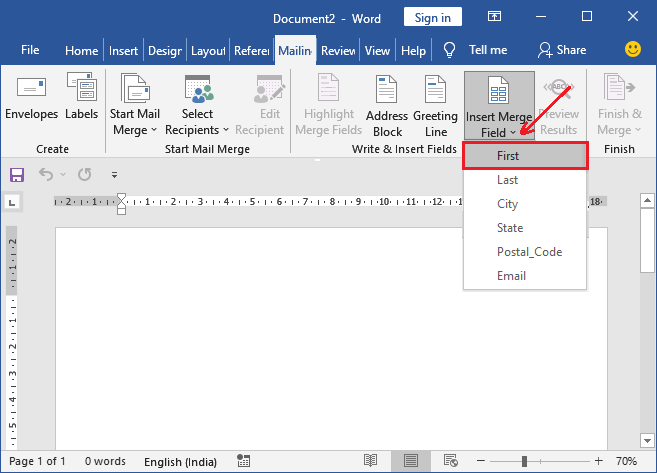
Step 2: A placeholder named First name will be added to your Word file like this one. This way, prepare the invitation letter by putting placeholders at the right place.
Similarly, add the placeholder to this file wherever you want. For example, see the invitation letter at the end created by us.


