Timeline Chart In Excel
But first you need data that look something like this:

Without marking anything, click insert tab (1), click on 2D chart (2), and choose 2-D bar (3).

Click on Design (1), and then on Select Data (2).

Press Add.
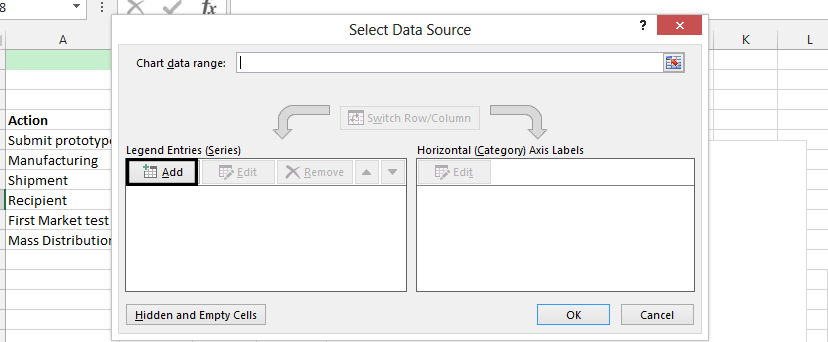
Name the series (1), and click on the red arrow beside values (2).

Select all the cells under that series name (1), and close it (2).

Repeat on the Duration, and then press ok.

Right click on the x axis, and choose select data.

Click Edit.

Choose all the Task/Action (1), and press ok (2).

Press ok again.

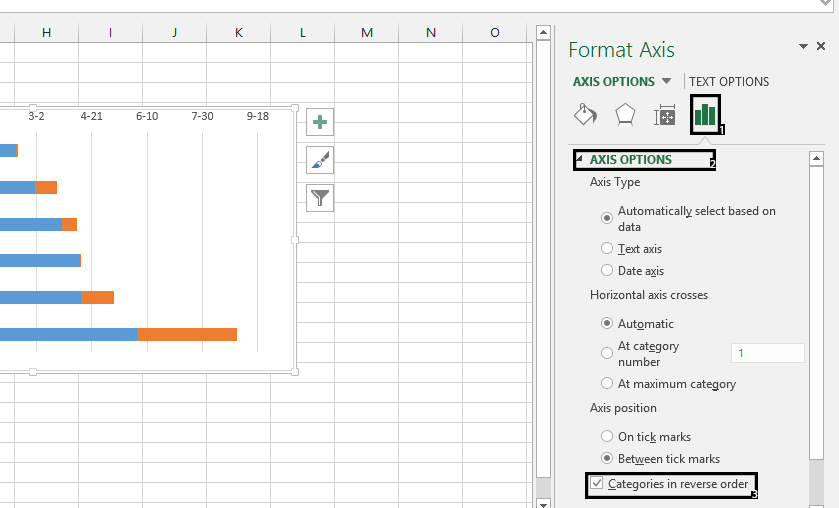
Right click on the x axis, and choose format axis.

Click on the chart symbol (1), axis options (2), and Categories in reverse order (3).
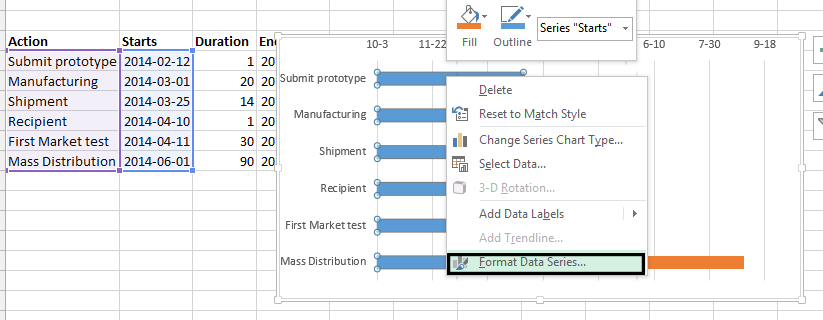
Right click on the starts series in the chart, and click on format data series.
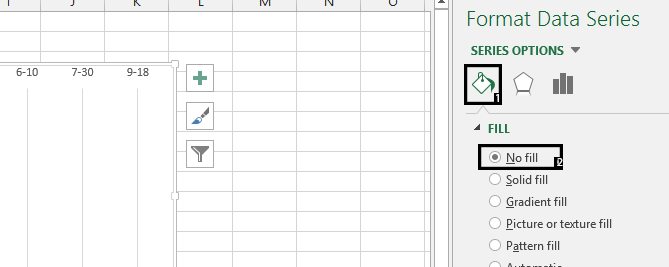
Choose the bucket (1), and then no fill (2).
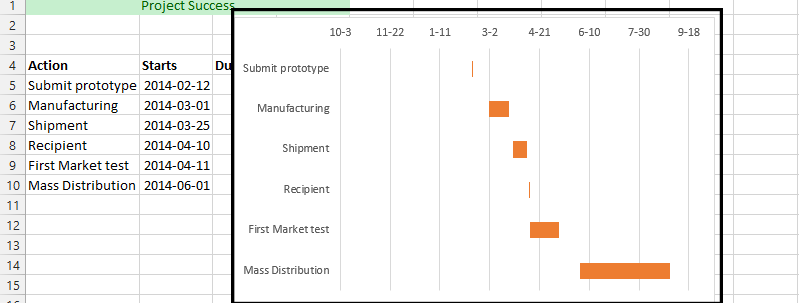
The Timeline Chart is ready and looking like this:
Template
Further reading:
Basic concepts
Getting started with Excel
Cell References


