

How to Add Watermark in Excel
A watermark refers to a text, logo, or pattern that is intentionally placed onto different files. In other words, a watermark refers to a picture placed on the background of digital data or files. Sometimes, we may need to add a watermark in Excel before making it sharable. In such a case, we can create/ add a watermark behind the original data in different financial reports, salary slips, etc.
In this article, we are discussing the process of how to add/ insert a watermark in Excel. Before discussing the process, let us first understand why the watermarks are essential:
Why watermarks?
It is very usual to see watermarks on various digital files, including documents and images. There are typically two main reasons why people add watermark, such as:
- Protection: Most individuals and companies use watermarks as a kind of protection on their digital assets. Because copying content is so easy these days, watermarks somewhat add an extra layer of security and ownership. That way, if someone tries to steal someone’s work, it is not easy to present the stolen work without being caught. However, the watermark must be used cleverly to prevent thieves from modifying the assets and removing the watermark.
- Marketing: Nowadays, watermarks are one of the best ways for marketing and brand promotions. Most companies and individuals use their logo or website address as watermarks. That way, if someone shares their content, those who view it can quickly know about the source from where it originated. However, watermarks should not be used in such a way that they look unpleasant to the audience.
There can be many other reasons why people may need to use watermarks in their Excel files. Even we can also use the feature for some fun or make our documents graphically attractive.
Let us now discuss essential methods to add a watermark to Excel:
Adding a Watermark in Excel using Excel
Most of the programs come with a built-in feature named ‘Watermark’. For instance, MS Word includes a ‘Watermark’ option under the ‘Design’ tab. However, Microsoft Excel does not have any direct option which can be used to manage watermark-related tasks. While there is no dedicated feature to add a watermark in Excel, we can perform this task using a couple of alternate methods.
Following are some of the standard methods used to add a watermark in Excel using Excel features:
Add a Text as a Watermark in Excel
Adding text as a watermark in Excel is the most accessible and helpful method. This is an alternate method and utilizes the ‘WordArt’ feature on Excel. The following are the steps to add a text as a watermark in Excel files:
- First, we are required to open an Excel file in which we want to add a watermark. After that, we need to click on the ‘Insert‘ tab.
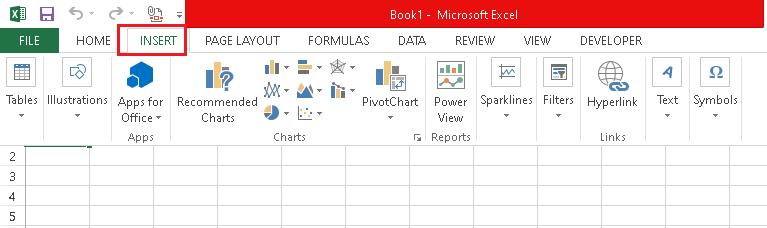

- Next, we are required to select the ‘Insert WordArt‘ option from the ‘Text‘ group.
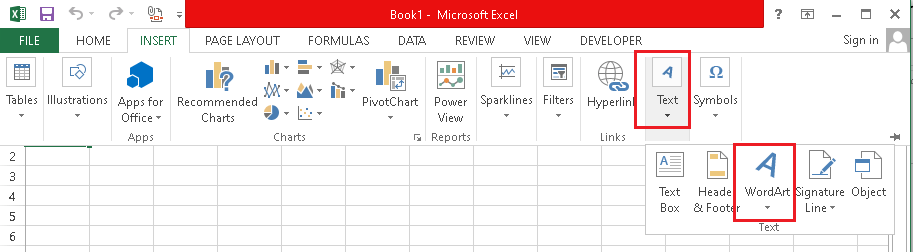
- On the next screen, we must select the desired style for the text. It is always recommended to use a light-colored style to make the data visible after a watermark is added.

- After clicking on the desired WordArt style, we need to replace the text ‘Your text here‘ with the text we want to use as a watermark. In our case, we are replacing the default text with the custom text, i.e., tutoraspire.
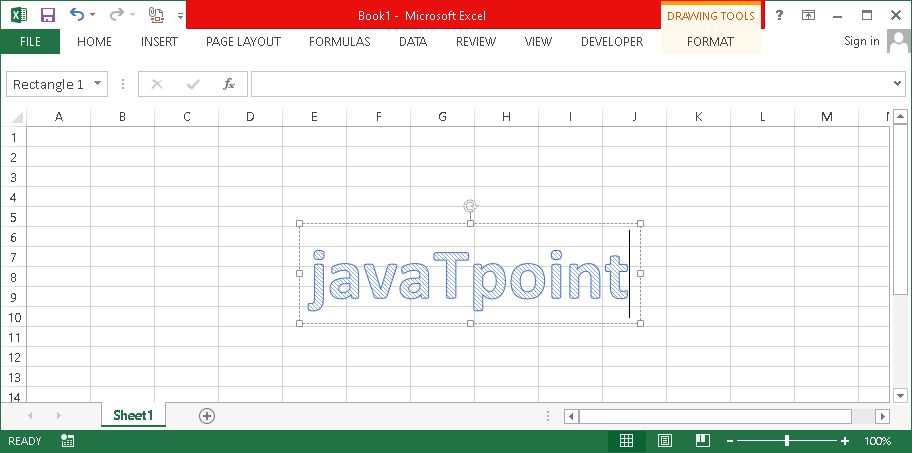
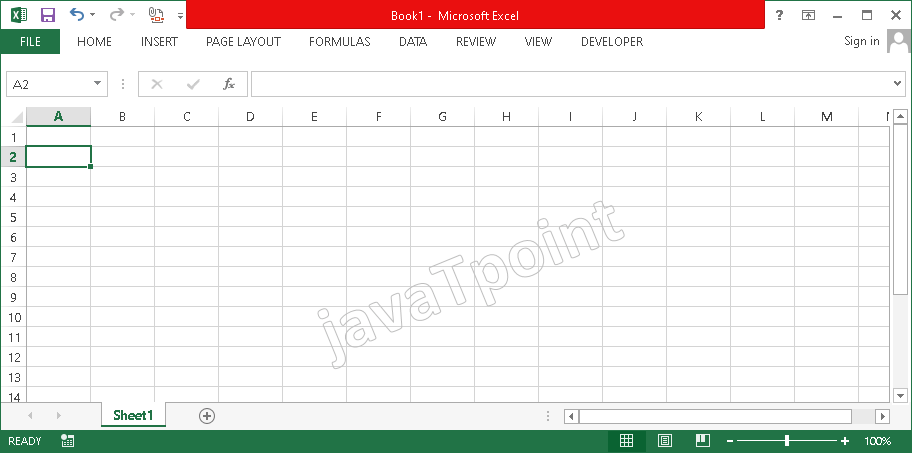
- Generally, the watermark is added on the top of the content of excel files, and therefore, we are required to adjust it. We can adjust the formatting of the text accordingly. We also tweak some formatting of the watermark text so that the watermark does not overlap. For instance, we have removed the ‘Text Fill’ color, changed the color, and rotated a watermark a bit to make it look great.
Apart from this, we can also save this watermark (WordArt text) in the image format. To do this, we can cut/ copy the created text watermark and paste it on any other program, such as MS Paint, Photoshop, etc. After that, we can use the ‘Save As’ option and select the desired image format (i.e., PNG, JPED, BMP, etc.). This will ultimately save an image/ picture on the computer that can be used for future processes.
Add an Image as a Watermark in Excel
Since there is no direct option to add a watermark in excel, we can insert an image in an Excel workbook and tweak some settings to make it look like a watermark. There are various methods that we can use to insert a watermark using the images. However, the primary methods are discussed below:
Using the Image Insert Option
This is one of the easiest methods to add a watermark in Excel alternately. However, it is not generally used. It is because the image inserted as a watermark using this method generally overlaps with the data. Therefore, to use this method, we must have an image with enough transparency to overlap.
The following are the steps to use this method to add a watermark in Excel:
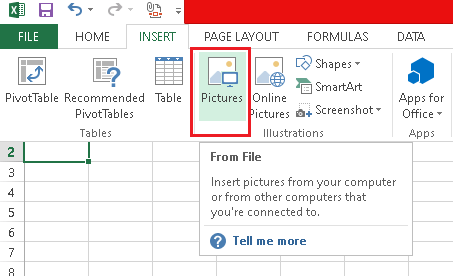
- First, we are required to open an Excel file in which we want to add a watermark. After that, we need to navigate to the ‘Insert‘ tab from the top navigational panel.

- Next, we need to select the ‘Pictures‘ tile, as shown in the following image:
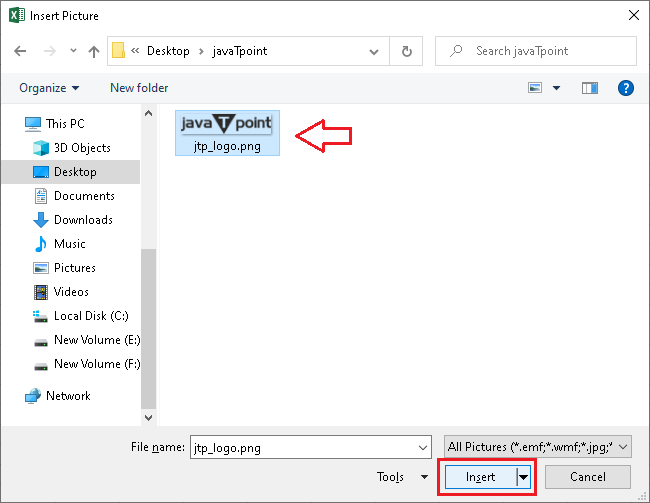
- Next, we need to select the image from the storage and click on the ‘Insert‘ button. After that, an image will be inserted into a file.
- We can adjust the formatting for the image from the ‘Format‘ tab. There is a wide range of formatting options to tweak an image to look like a watermark. Using the formatting options, we have changed the watermark’s size (height and width) and rotated it slightly. That way, it looks more attractive and pleasant than before.

Using the Background Option
This is another easy way to use an image as a watermark in Excel. Most people do not like this method only because the image is spread repeatedly throughout the sheet. Therefore, we must create a light-colored image and keep the size large not to look awkward.
The following are the steps to use this method to add a watermark in Excel:
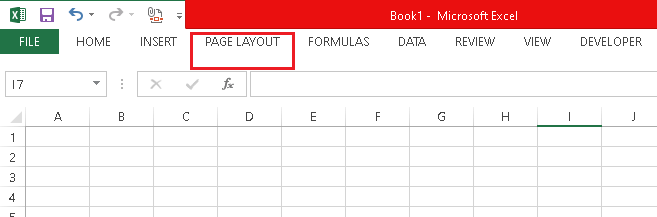
- First, we are required to open an Excel file in which we want to add a watermark. After that, we need to navigate the ‘Page Layout‘ tab from the top navigational panel.
- Next, we need to select the ‘Background‘ tile, as shown in the following image:
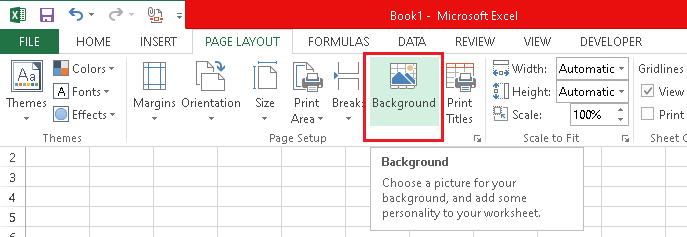
- Next, we need to select the image from the storage and click on the ‘Open‘ button.
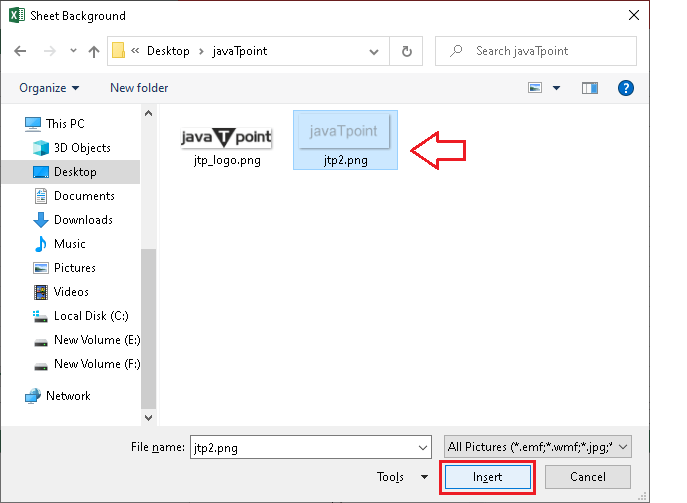
After that, an image will be inserted into a file.

In the above image, we can see that the watermark image covers all the areas of the excel sheet. Besides, there are no formatting options to adjust the appearance or other properties of the background image inserted as a watermark. When we add a watermark using this method, the watermark is only displayed digitally. That means, if we take prints or hard copies of a particular document, there will be no watermark.
Using Header/ Footer Option
This is the most commonly used method used to add a watermark in excel files. Although inserting a watermark using this method is a little long, it is more stable and flexible. We get various formatting options that help make an image look like a watermark perfectly. Using this method, we can only add watermarks in the header or footer section of the excel files and further adjust the formatting to make it meaningful.
The following are the steps to use this method to add a watermark in Excel:
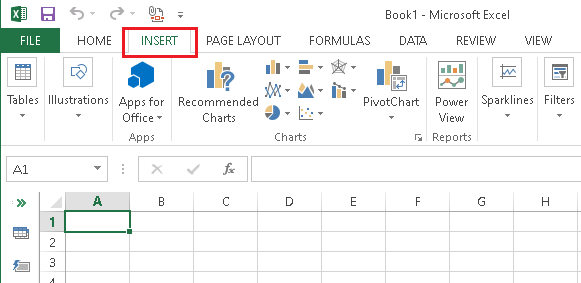
- First, we need to launch an Excel file in which we want to add a watermark. After that, we need to navigate to the ‘Insert‘ tab from the top navigational panel.
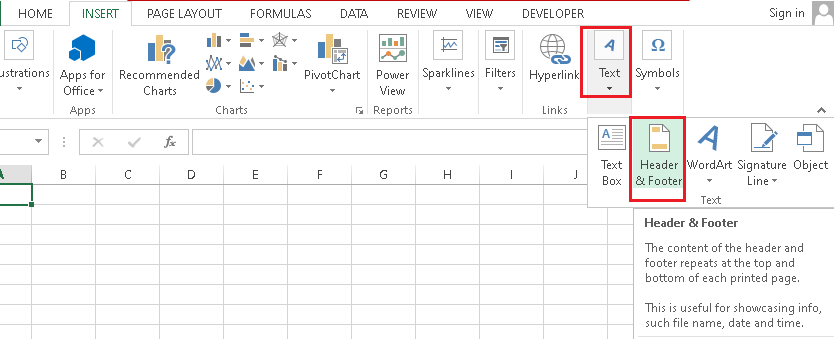
- Next, we are required to click on the ‘Header & Footer‘ option from the ‘Text‘ group, as shown below:
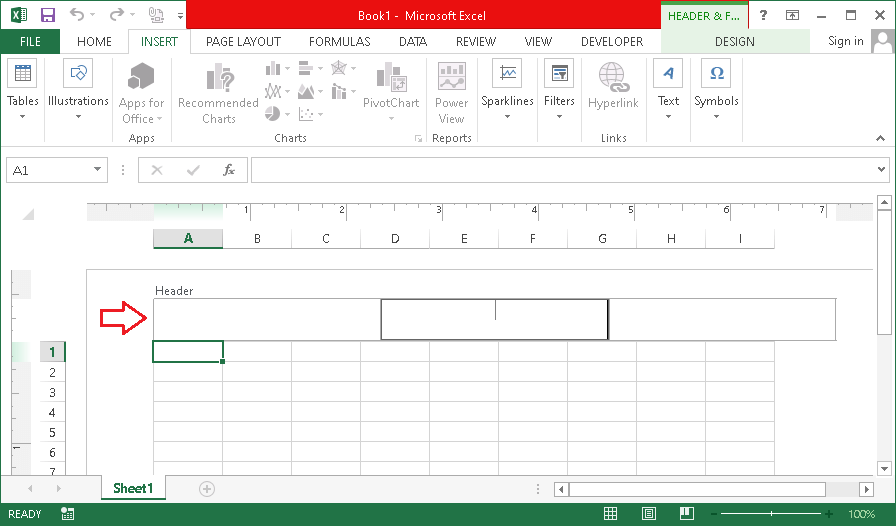
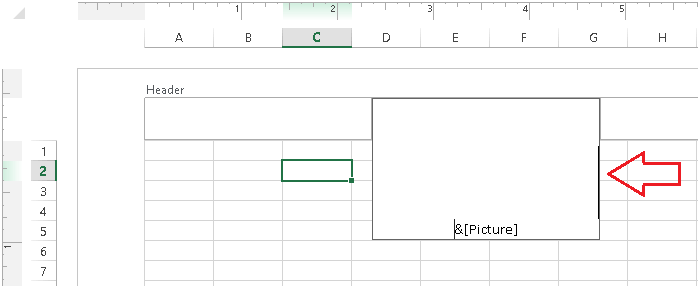
- After completing the last step, a new header and footer will be added to an Excel file. Each (Header or Footer) has three sections, i.e., left, right, and center. We must click on any of the three sections to add a watermark. Here, we select the center box for adding a watermark.
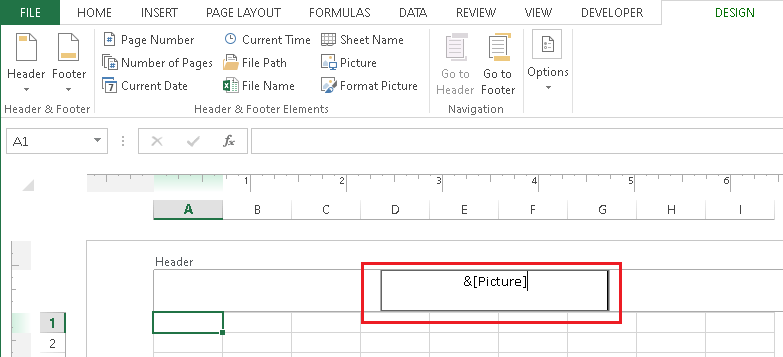
- After that, we are required to click on the ‘Picture‘ option from the ‘Design‘ tab and select the picture (image) that we want to use as a watermark.
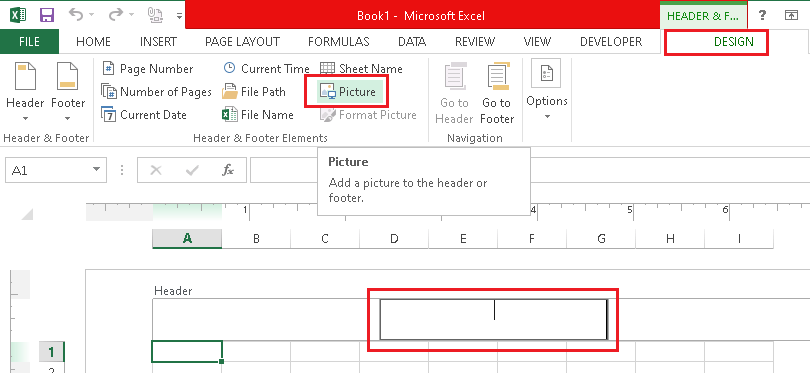
This will add the text ‘&[Picture]‘ is a particular box, which means that the particular box has a picture in it.
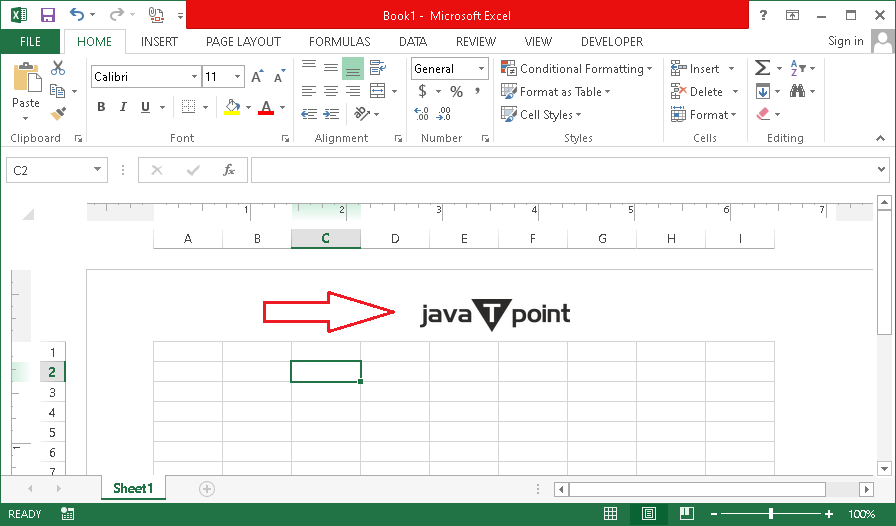
- Finally, we need to click on any cell or any other area to display the watermark.
- We can also adjust various formatting properties using the option ‘Format Picture‘ given under the ‘Design‘ tab.
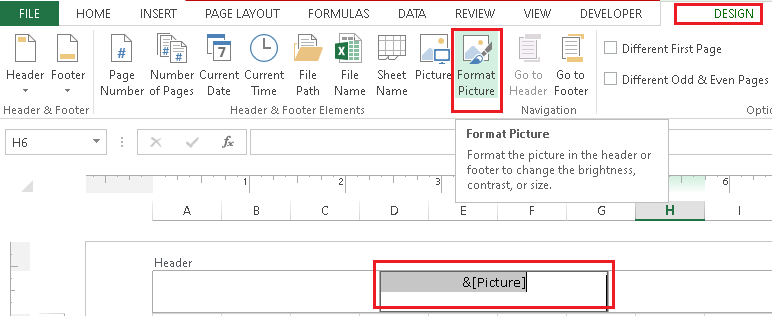
- To center a watermark, we are required to place a cursor before the text ‘&[Picture]‘ and press the ‘Enter‘ button from the keyboard to move the picture in the next line.
That way, we can reposition the watermark accordingly.
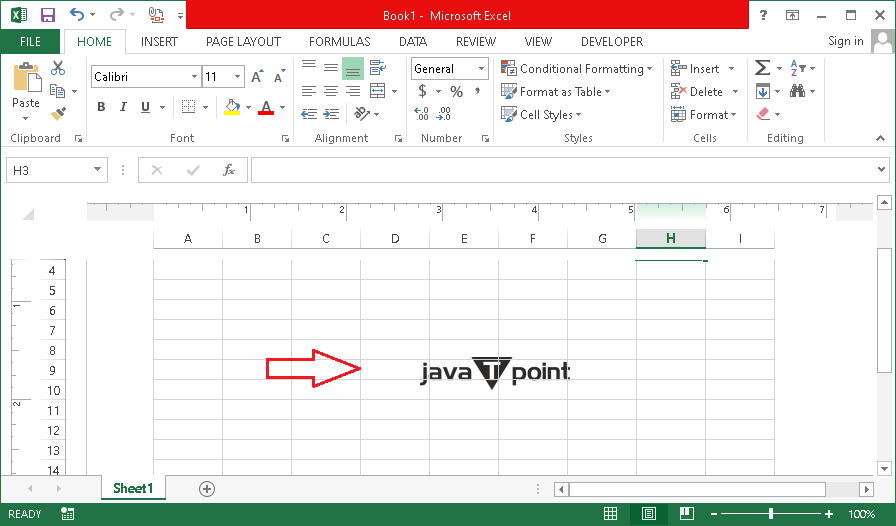
It is important to note that the watermark will be visible in Page Layout mode only. It will not be displayed in the normal mode. Although the watermark is not visible in a normal mode, it still exists in the file and is displayed in print preview mode or printouts. Here, we added a watermark to a header, but we can follow the same process for the footer.
Adding a Watermark in Excel using the Third-Party Extension/ Plugin
Many third-party extensions/ plugins/ utilities work with Excel and include more features to Excel. Such extensions can also be beneficial to add a direct option for inserting a watermark in excel. This will eventually reduce the couple of steps to be followed that we discussed above. However, such extensions are not available to use free of cost.
The extension name ‘Kutools for Excel‘ is one such option that can be used to add a watermark in Excel quickly. This particular extension comes with a 60 days demo period; therefore, we can try its features for 60 days from the installation date. After that, we have to purchase this extension for future use.
The following are the steps to install this extension and further use it to add a watermark in Excel:
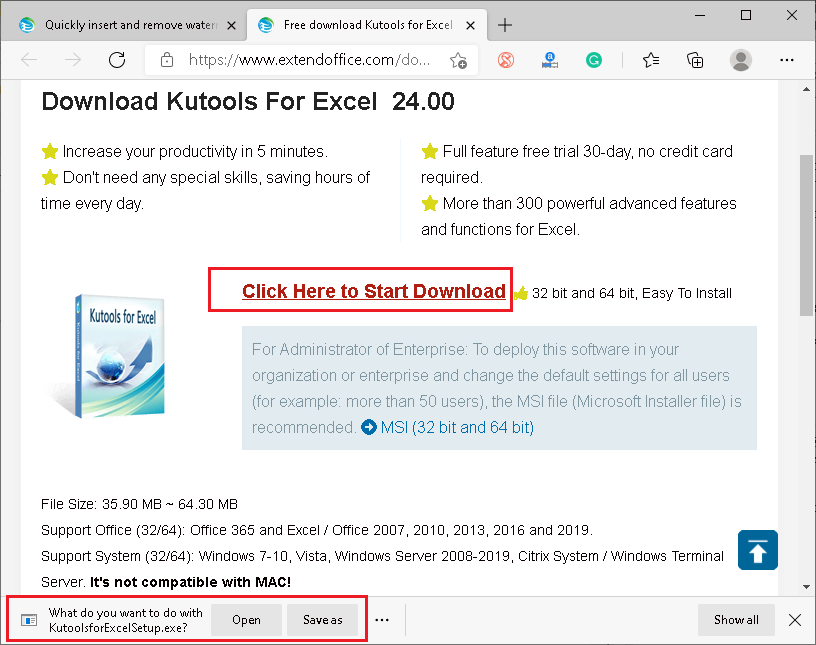
- First, we need to navigate to the official website to download this extension on our computer. To quickly download this extension, we can use the direct link (given below) and access the download page: Link- https://www.extendoffice.com/download/kutools-for-excel.html
- After that, we need to click on the option ‘Click Here to Start Download‘, and the download will start.
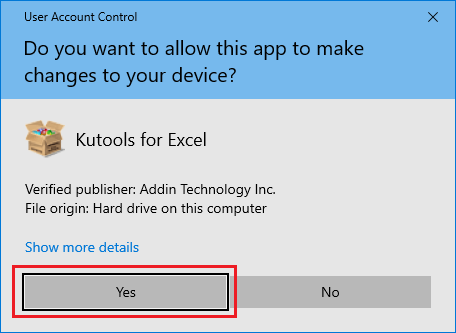
- Once the download has been completed, we must launch the setup file (KutoolsforExcelSetup.exe) to start the installation. After we launch the setup, we must allow the admin access to start copying the necessary files on the computer.
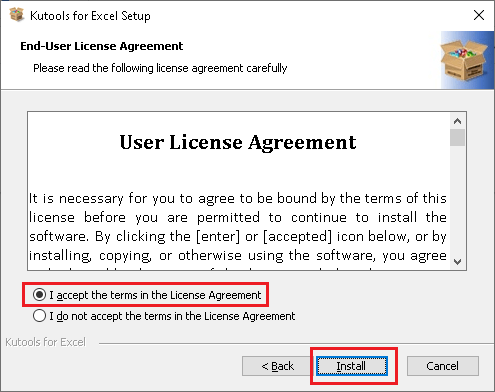
- On the next screen, we must accept the ‘User License Agreement‘ and click on the ‘Install‘ button.
- After clicking on the ‘Install’ button, the installation will start. It may take some time, depending on the system performance and the storage availability.
- Once the installation has finished, the extension will be added with Excel. We can also launch Excel with Kutools by selecting the checkbox and clicking on the ‘Finish‘ button.
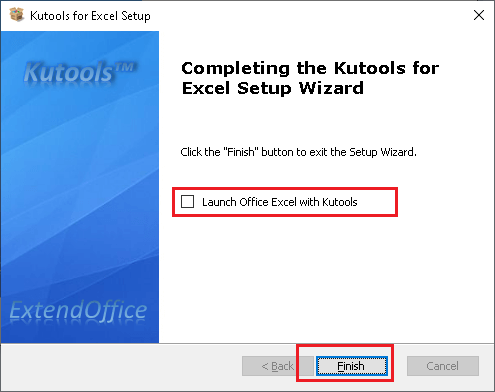
Besides, we can uncheck the box to finish the installation and open an Excel file directly after installing Kutools. The extension and its features will be listed there automatically after the installation.
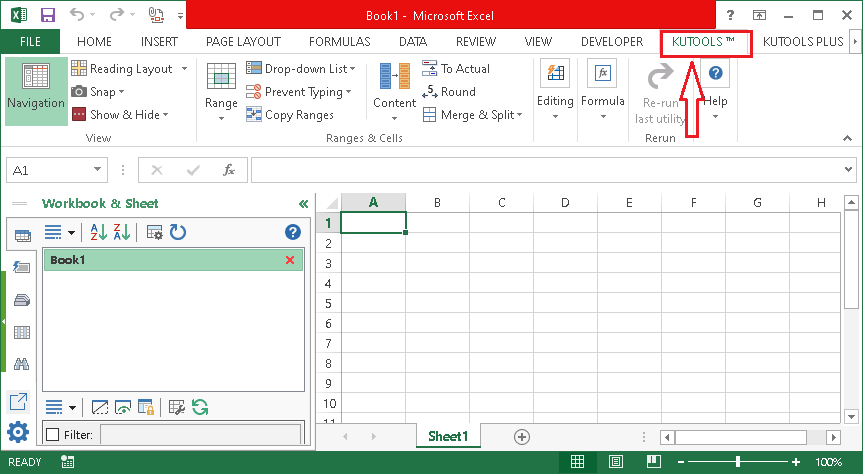
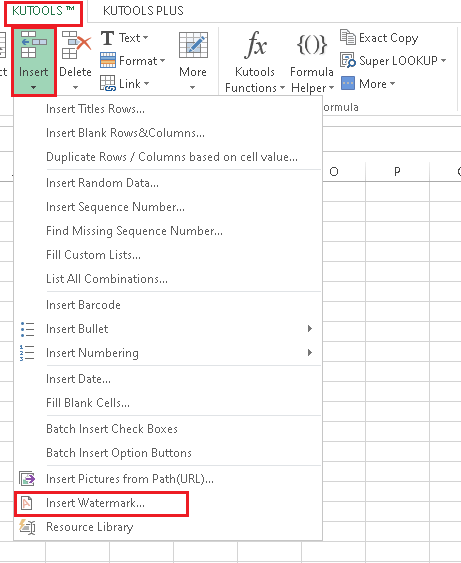
- After the extension has been successfully installed, we need to open an excel file in which we want to add a watermark. Next, we are required to click on the tab ‘Kutools‘. From the Kutools options, we must click on the ‘Insert‘ and then select the option ‘Insert Watermark‘ from the bottom of the list.
- Next, we will get the Insert Watermark window, which allows us to either select a picture or insert a text to use it as a watermark.
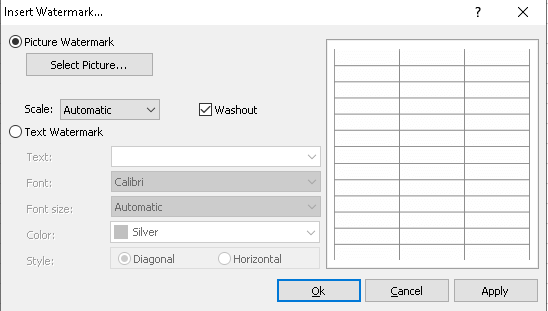
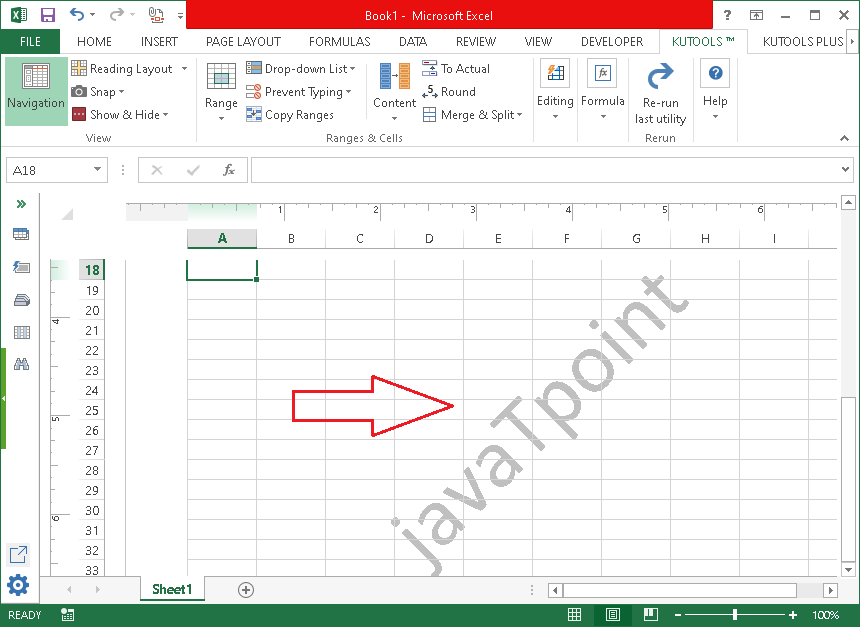
- In case we select the ‘Picture watermark‘ option, we only need to select the picture from the storage, choose the scaling type, and then click on the ‘Ok‘ button. The best advantage of using this extension is the ‘Preview Screen’, where we can check the watermark.
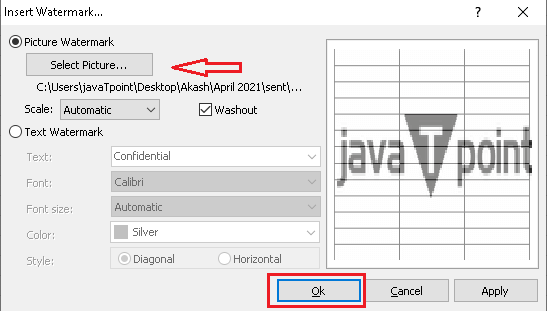
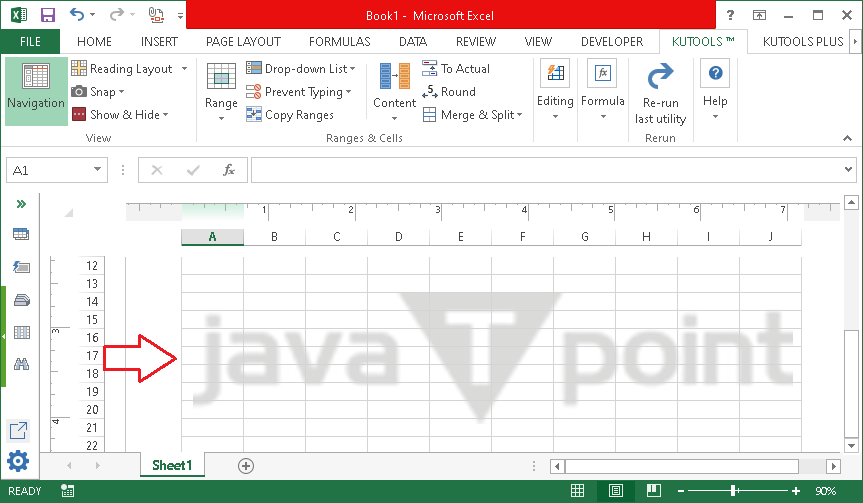
The selected picture will be displayed as a watermark as per the applied settings.
- In case we select the ‘Text Watermark‘ option, we need to enter the text that we want to use as a watermark in Excel. Additionally, there are some built-in text options that we can select, such as Confidential, Draft, Sample, Don’t Copy, etc.
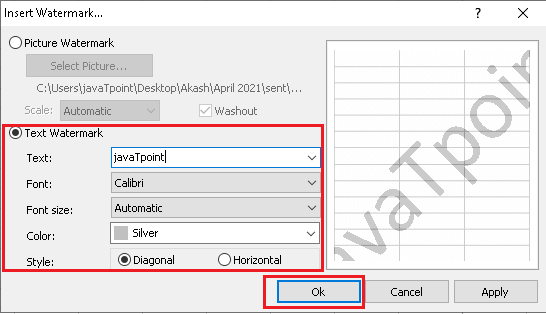
After selecting the text, we need to adjust the formatting for text. The formatting options include Font, Font size, color, and style. Once we have configured the properties for the text, we need to click on the ‘Ok‘ button, and the watermark will be added in Excel.
By using third-party extensions, we can make our task so much easier. Additionally, we get many other professional features that increase the productivity of working on Excel.


