How To Create Data Entry Form In Excel
Let us discus why we need a data entry form. Suppose we enter in an Excel file daily there are chances to errors, these are the 2 issues we face:
- It’s time-consuming. You need to enter the data in one cell, then go to the next cell and enter the data for it. Sometimes, you need to scroll up and see which column it is and what data needs to be entered. Or scroll to the right and then come back to the beginning in case there are many columns.
- It’s error-prone. If you have a huge data set which needs 40 entries, there is a possibility you may end up entering something that was not intended for that cell. Data form provides additional data validation.
Hence it is better to user from control to avoid these 2 mistakes. Let us start creating the data for the same which we generally add daily. Now think of some one adding this daily data. Let us create the set up for data entry form control in Excel:
- Right-click on any of the existing icons in the Quick Access Toolbar.
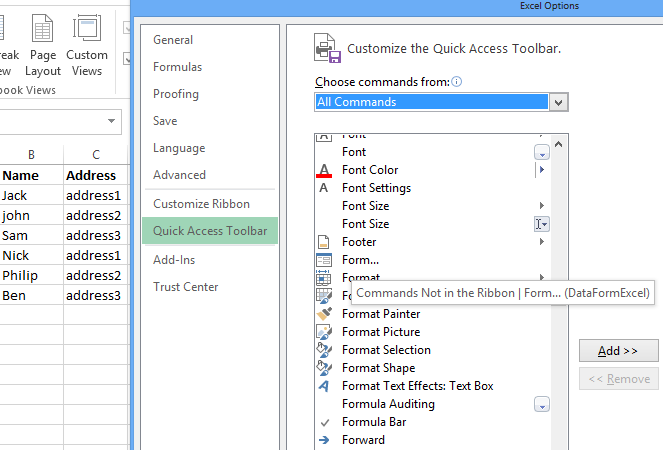
- Click on Customize Quick Access Toolbar:

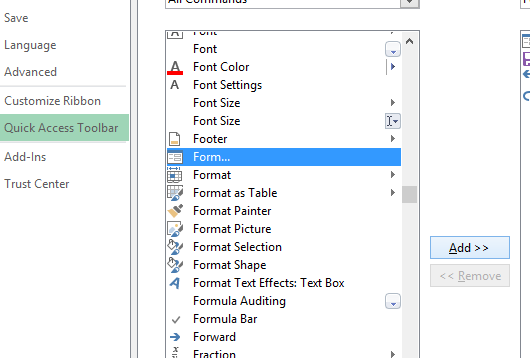
Now Select “All commands” and find “form”.

Click add to add it to the toolbar:

It will show at the top like this:
![]()
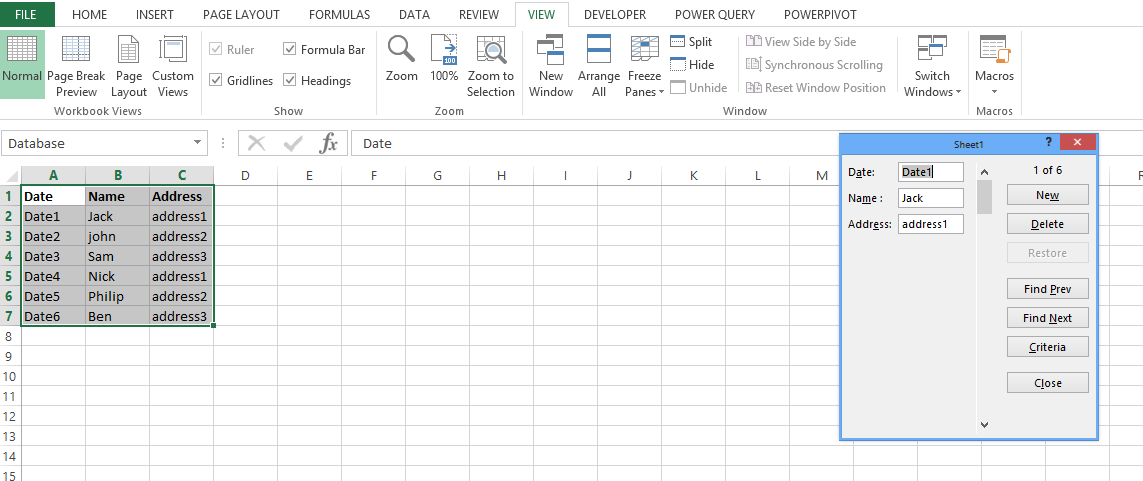
Now select the data and click this form button:

We have this standard form control to be used right away for data entry.
Template
You can download the Template here – Download


